

Think the dirt under your house can’t hurt you? Think again.
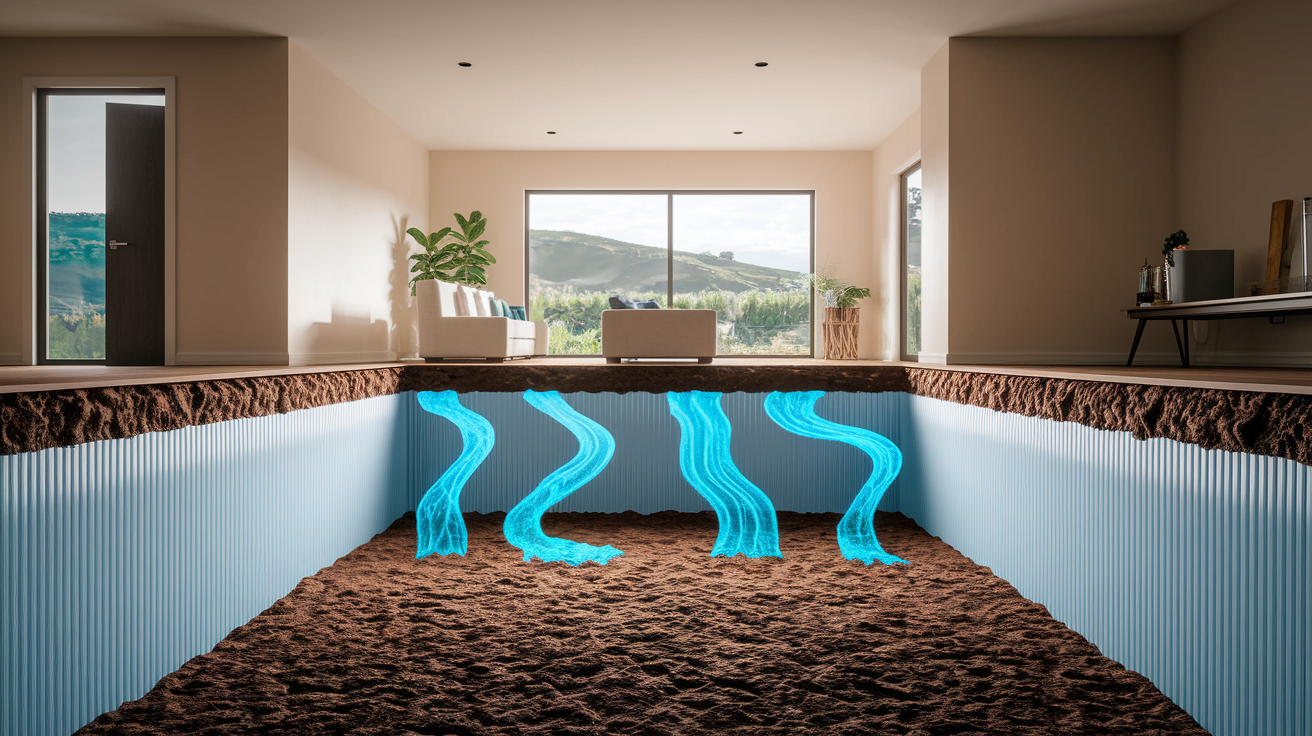
Ground moisture rises into joists, insulation, and the air you breathe, causing mold, rot, and that musty smell upstairs.
A crawlspace vapor barrier stops that moisture before it damages wood and wrecks indoor air quality.
This post makes vapor barrier installation simple and practical: we’ll show what materials and tools to choose, a clear step-by-step install, common mistakes to avoid, cost expectations, and when you should call a pro.
Do it once, do it right.
Understanding Crawlspace Vapor Barriers
A crawlspace vapor barrier is a heavy-duty membrane, usually polyethylene sheeting, that gets installed across the dirt floor of a crawlspace and up the foundation walls. Its job? Stop ground moisture from rising into your home. When soil releases water vapor, that moisture travels upward through the dirt, into floor joists, insulation, and eventually your living space. A vapor barrier blocks that path before the moisture causes real damage.
Without a barrier, crawlspace moisture creates mold growth on wood framing, rotting floor joists, rusted electrical boxes, corroded plumbing, and soggy insulation that quits working. That same moisture also wrecks indoor air quality. Roughly 40 to 50 percent of the air you breathe on your first floor originally came from the crawlspace below, so what happens down there affects what you smell and breathe upstairs. Installing a vapor barrier breaks that cycle by sealing off the soil and keeping the space dry.
Installation typically involves clearing the crawlspace, laying sheets of polyethylene across the floor with overlapped seams, sealing those seams with tape, and securing the edges to the foundation walls with fasteners and adhesive. Materials range from 6 mil sheeting up to 20 mil or thicker composite membranes, depending on how much durability you need. Thicker barriers hold up better to foot traffic, sharp debris, and long term wear.
Key benefits include stopping ground moisture and vapor from entering the home, reducing mold and musty odors in living areas, protecting structural wood and metal systems from rot and corrosion, and improving insulation performance while lowering heating and cooling costs.
Tools and Materials Needed for Installation

Before you start, gather everything you’ll need so you don’t have to climb out of the crawlspace halfway through. The main material is polyethylene sheeting, also called poly, sold in rolls. Thickness matters. Six mil poly tears easily and usually doesn’t hold up in real world crawlspaces. Ten to twelve mil is better for long term use, and fifteen to twenty mil works well in spaces where you might need to crawl around later for plumbing or electrical work.
You’ll also need seam tape to seal overlaps, masonry anchors or fasteners to attach the barrier to concrete walls, and construction adhesive or butyl tape for a waterproof seal along the top edge. A utility knife cuts the poly to size, a measuring tape and chalk line help keep things square, and a hammer drill with a masonry bit drives anchors into the foundation. Personal protective equipment like a respirator, work gloves, and knee pads keeps you safe in a dusty, tight space.
Essential tools and materials include polyethylene sheeting (10 to 20 mil thickness recommended), seam tape (3 to 6 inches wide, manufacturer approved), masonry anchors or mechanical fasteners, construction adhesive or butyl tape, utility knife, measuring tape, chalk line, hammer drill with masonry bit, respirator, work gloves, and knee pads.
Step by Step Crawlspace Vapor Barrier Installation

Installing a vapor barrier is methodical work. If you skip a step or rush the sealing, moisture finds the gaps. Take your time and do it once.
Clear and prepare the crawlspace. Remove stored items, debris, and any wet or moldy insulation. If there’s standing water, pump it out or wet vac it. Fix any plumbing leaks before you lay the barrier. Level out sharp rocks or high spots that could puncture the poly once it’s down.
Measure the space and plan your layout. Calculate total square footage, add 10 to 20 percent for wall turn ups and overlaps, then buy enough material. Sketch a rough layout showing where seams will land so you can stagger joints and avoid weak spots.
Cut and lay the first sheet. Unroll the poly across one section of the floor, leaving enough material to run six to twelve inches up the foundation wall. Don’t pull it tight. Leave a little slack so it can settle without tearing.
Overlap seams by six to twelve inches. When you add the next sheet, overlap the edge of the first sheet by at least six inches. Some codes require twelve. Stagger the seams like brickwork so you don’t create one long weak line across the floor.
Seal every seam with tape. Use the manufacturer approved seam tape and press it down firmly with a roller or your hand. Work out air bubbles. If the seam isn’t sealed, moisture will creep through and condense under the barrier.
Secure the barrier to foundation walls. Turn the poly up the wall six to twelve inches. Apply a bead of construction adhesive or a strip of butyl tape along the top edge where the poly meets the concrete, then install masonry anchors every twelve to eighteen inches to hold it in place. The barrier should be snug against the wall, not drooping or gapped.
Wrap piers and seal around penetrations. Cut the poly to fit tightly around support columns, pipes, and ducts. Wrap columns completely and seal the seam with tape. For pipes, cut a small slit, slide the poly around the pipe, and seal the edges with mastic or tape so there’s no open path for vapor.
Inspect and verify coverage. Walk the perimeter and check that no soil is visible, all seams are taped, the wall edges are attached and sealed, and penetrations are wrapped tight. Look for tears or gaps. Patch anything questionable now, while you’re still down there.
Cost Breakdown for Vapor Barrier Installation

Material and labor costs depend mostly on crawlspace size, barrier thickness, and whether you do the work yourself or hire a crew. A basic six mil poly barrier runs cheapest, ten to thirty cents per square foot for the material alone, but it tears easily and rarely lasts more than a few years. Ten to twelve mil sheeting costs more, typically thirty cents to a dollar per square foot, and holds up better. Heavy duty composite membranes can run even higher but provide puncture resistance if you need to access the crawlspace later.
Professional installation usually costs between fifteen hundred and four thousand dollars for an average single family crawlspace, though larger or more complex jobs can go higher. That price includes labor, materials, sealing, and often a warranty. DIY jobs save on labor but take time. Plan on four to sixteen hours depending on space size, access, and how many obstacles you’re working around. You’ll still pay for materials, tape, fasteners, and tools you don’t already own.
| Cost Type | Typical Range |
|---|---|
| Materials (DIY, 10–12 mil poly) | $0.30–$1.00 per sq ft |
| Professional labor | $1.00–$3.00 per sq ft |
| Total professional project | $1,500–$4,000 typical |
Common Mistakes to Avoid
Most vapor barrier failures happen because someone skipped a sealing step or used material that wasn’t tough enough for the job. These mistakes let moisture sneak in and undo the whole point of the barrier.
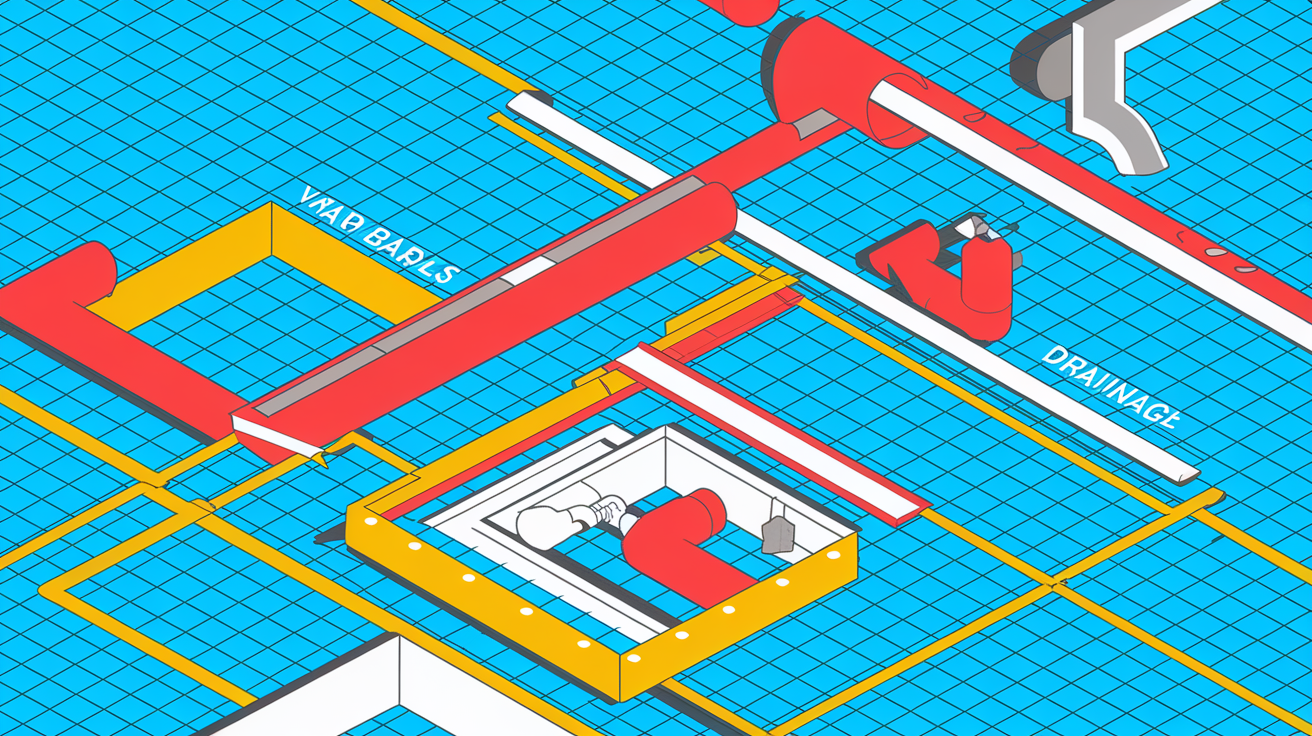
Using six mil poly in a long term installation tears too easily and won’t hold up. Failing to overlap and tape seams creates direct paths for vapor to pass through. Not securing the barrier to foundation walls or around penetrations like pipes and columns leaves open routes for moisture. Leaving crawlspace vents open without addressing the moisture source pulls humid outdoor air into the space. And ignoring drainage or active water intrusion before laying the barrier means water pools on top of the poly instead of being blocked by it.
When seams aren’t taped or edges aren’t fastened, the barrier shifts and gaps appear. Moisture condenses under loose poly, mold starts growing on the wood above, and within a year or two the crawlspace smells damp again. If there’s a plumbing leak or runoff problem and you lay a barrier over wet soil, you’ve just trapped the water instead of stopping it. The barrier only works when the space is dry to start with and the installation is airtight.
DIY vs. Professional Installation
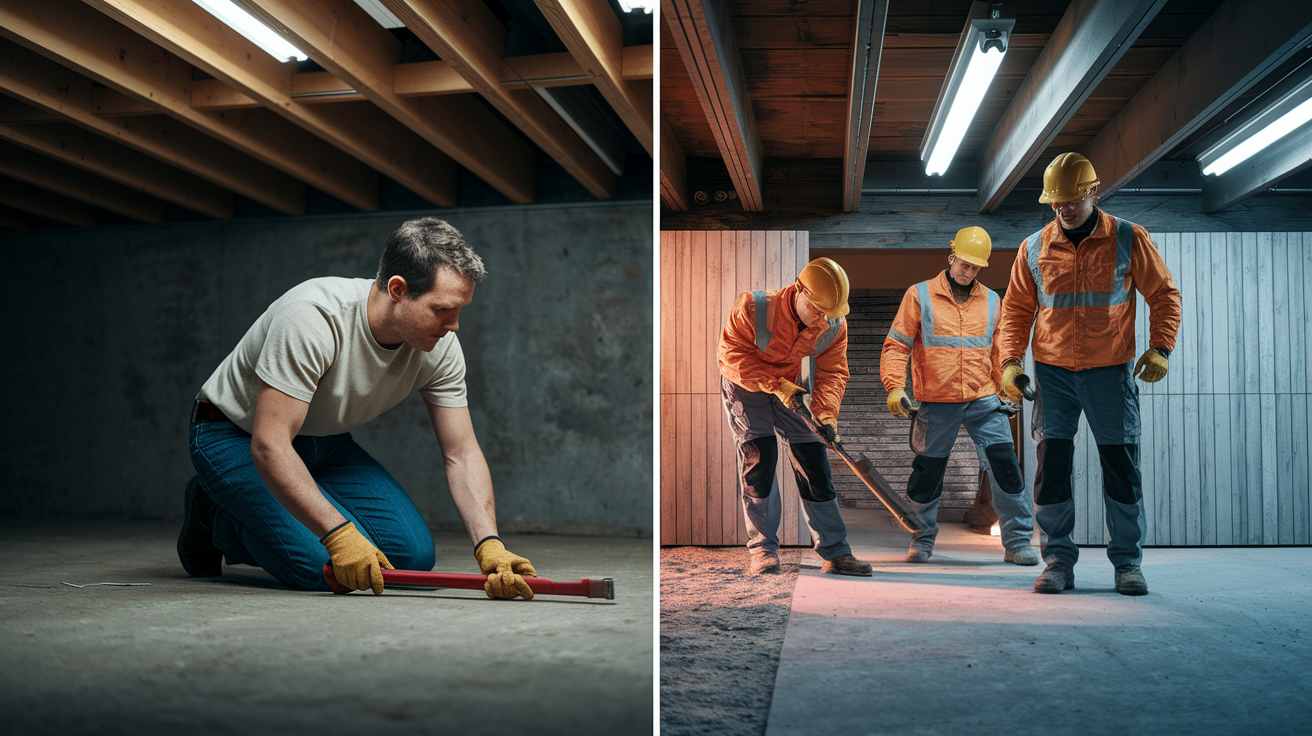
DIY installation saves money and gives you control over timing, but it’s physically demanding work in a cramped, dirty space. You’ll spend hours on your knees or stomach, cutting poly, taping seams, and drilling into concrete. If your crawlspace is small, clean, and easy to access, and you’re comfortable working in tight quarters, DIY is a reasonable option. Buy good materials, follow the steps carefully, and plan for a full weekend or two evenings.
Professional crews finish faster and bring experience with sealing techniques, code requirements, and tricky details like pier wraps and wall attachments. They also carry insurance and often offer warranties on both materials and labor. If your crawlspace has standing water, mold, structural damage, or complex HVAC and plumbing runs, a professional can handle remediation and installation together without you needing to coordinate multiple contractors.
The decision usually comes down to space complexity and your comfort level. A small, dry crawlspace with easy access is manageable for a careful homeowner. A large space with drainage issues, low clearance, or contamination is better left to someone who does this regularly and knows how to troubleshoot problems that don’t show up in a how to guide.
Maintenance and Long Term Care

A properly installed vapor barrier doesn’t need much attention, but it does need occasional checks. Plan to inspect the crawlspace at least once a year and again after heavy storms, plumbing work, or if you notice musty smells upstairs. Look for tears in the poly, loose or peeling seam tape, detached wall edges, and any new moisture or standing water. Small punctures can be patched with a piece of matching poly and fresh seam tape. Larger tears or widespread damage usually mean the barrier needs replacement.
If you added a dehumidifier or sump pump as part of the installation, check that equipment according to the manufacturer’s schedule, usually every few months. Empty collection buckets, clean filters, and confirm the unit is running when humidity rises. Outside the crawlspace, keep gutters clear and downspouts extended so roof runoff drains away from the foundation. Grading should slope away from the house so surface water doesn’t pool near the walls and seep in.
Regular maintenance includes inspecting the barrier and seams annually and after storms or plumbing changes, patching tears promptly with matching poly and fresh seam tape, monitoring dehumidifier operation and emptying or servicing as needed, and maintaining exterior grading, gutters, and downspouts to prevent water buildup around the foundation.
Final Words
In the action, we walked through what a vapor barrier does, the tools and materials to buy, a clear eight-step install plan, and what it might cost. We flagged common mistakes, compared DIY vs hiring a pro, and explained upkeep so the barrier lasts.
If you’re ready to protect the house, start with the right material thickness, proper seam sealing, and a tidy layout. For complex crawlspaces, get professional help. A good crawlspace vapor barrier installation keeps moisture out and cuts mold risk. You’ll feel more confident knowing the space is stable and dry.
FAQ
Q: How to properly install a vapor barrier in a crawl space?
A: Properly installing a vapor barrier in a crawl space involves covering the soil with 6–20 mil polyethylene, overlapping seams 6–12 inches, sealing and taping seams, and fastening the barrier to foundation walls to block ground moisture.
Q: When should I install a vapor barrier in my crawl space?
A: You should install a vapor barrier in your crawl space during new construction or when addressing moisture, mold, or insulation damage; install after grading and drainage fixes and before adding insulation or closing walls.
Q: What are common vapor barrier mistakes?
A: Common vapor barrier mistakes include leaving gaps, failing to seal seams, using thin plastic, not attaching the barrier to walls, ignoring crawlspace drainage, and skimping on overlap or repairs.
Q: What is the code for a crawl space vapor barrier?
A: The code for a crawl space vapor barrier varies by jurisdiction; many require at least 6 mil polyethylene, while some require thicker or fully sealed systems—check your local building code or inspector first.