

Think a little damp crawl space won’t hurt anything? Think again.
Moisture under the house can rot joists, feed mold, and push repair bills way up.
This post walks you through what to do in the first 24–48 hours to stop active water and cut humidity, then how to fix the root cause with drainage, vapor barriers, dehumidifiers, and sealing.
You’ll get quick DIY steps, what a pro should handle, and what to document for insurance.
Simple, steady, practical.
So you stop damage before it gets worse.
Immediate Crawl Space Moisture Prevention Steps for Homeowners

When you spot crawl space moisture, the first day or two actually matter. Standing water or wet soil isn’t going to fix itself. Wait too long and you’re looking at structural damage or mold growth instead of a manageable fix. Most homeowners can knock out basic triage in less than an hour with almost no special tools.
Start by figuring out what you’re dealing with. Common signs include puddles on the floor, damp or muddy soil, a heavy musty smell, wet or sagging insulation hanging from ceiling joists, hairline cracks in foundation walls, and white chalky deposits (efflorescence) on concrete. These symptoms tell you where water’s getting in and how long it’s been sitting there.
Your goal right now is to stop active water intrusion and cut humidity before it spreads. You’re not rebuilding the foundation or installing permanent systems yet. You’re buying time and keeping the problem from getting worse while you figure out long term fixes.
-
Turn off any standing water source. If you see a plumbing leak, shut off the valve or main water supply until you can get repairs done.
-
Clear gutters and downspouts. Remove leaves, twigs, and debris so rainwater can flow away from the foundation instead of pooling near the crawl space.
-
Extend downspouts temporarily. Use flexible tubing or extenders to push water at least several feet away from the house until you can install permanent solutions.
-
Patch torn vapor barrier sections. If you see rips or gaps in the plastic sheeting on the floor, tape them with waterproof repair tape to slow moisture rising from the soil.
-
Run a portable dehumidifier. Set it to pull humidity below 60 percent, ideally closer to 45 percent, to stop mold from starting and reduce condensation on wood and metal.
-
Circulate air with a temporary fan. A small box fan near the crawl space entrance helps move damp air out and brings drier air in, reducing stagnant pockets where mold loves to grow.
-
Document what you see. Take photos of water, cracks, wet insulation, and any visible mold so you have a record for insurance claims or contractor estimates.
These steps won’t solve chronic moisture problems. But they stop the immediate damage and give you a stable baseline to work from. Once the emergency’s under control, you can move into permanent drainage, sealing, and monitoring solutions.
Crawl Space Moisture Causes and How They Lead to Damage

Moisture enters crawl spaces from three main directions: above, below, and through. Rainwater runs off roofs and flows toward the foundation when gutters are clogged or downspouts discharge too close to the house. Groundwater rises after heavy storms or snowmelt, pushing through cracks and seams in the foundation walls and floor. Plumbing leaks from supply lines or drain pipes can drip or spray for weeks before anyone notices.
Poor grading is one of the most common causes. When soil slopes toward the house instead of away from it, every rainstorm sends water straight to the foundation. Freeze thaw cycles open hairline cracks in concrete during winter, and those cracks widen each spring when melting snow saturates the ground. Once water’s inside, it soaks into wood joists, insulation, and posts. The crawl space becomes a humid pocket where mold and mildew start within 24 to 48 hours.
The damage spreads upward. According to the EPA, air from your crawl space flows into your home through gaps around ducts, pipes, and the subfloor. That means musty odors, mold spores, and elevated humidity move into your living areas. Over time, wet wood loses strength. Floor joists sag and posts rot at the base. Left untreated, you can end up with bouncy floors, foundation movement, and repair bills that climb into the tens of thousands.
Exterior Drainage Solutions for Reducing Crawl Space Moisture

Most crawl space moisture problems start outside. If water pools near your foundation or soaks into the soil around your house, it’s going to find a way into the crawl space no matter how many dehumidifiers you run. Exterior drainage work stops water before it reaches the concrete, and it’s often the most effective single step you can take.
Gutters and downspouts are the first line of defense. Clean them at least twice a year, in spring and fall, so rainwater flows freely off the roof and into the downspouts. Then extend those downspouts at least several feet away from the foundation using rigid or flexible extensions. If water dumps right next to the house, it saturates the soil and seeps through cracks or along the footing.
Regrade landscaping so the ground slopes away from the foundation. Aim for about 6 inches of drop over the first 10 feet to guide surface water away from the crawl space.
Install a French drain along the perimeter. A trench filled with perforated pipe and gravel collects and diverts groundwater before it reaches the foundation walls.
Clean vent wells and window wells. Debris and leaves can block these low points, creating standing water right against the foundation during storms.
Check vent screens for damage. Torn or missing screens let pests in and allow debris to clog the airflow, trapping moisture inside the crawl space.
Inspect and repair exterior foundation cracks. Seal small cracks with hydraulic cement or masonry filler to block seepage from saturated soil.
After every major storm or period of heavy rain, walk the perimeter of your house and look for puddles, soft soil, or signs that water’s pooling near the foundation. Catching drainage problems early keeps water out of the crawl space and reduces the load on interior moisture control systems.
Vapor Barriers and Crawl Space Encapsulation for Long Term Moisture Prevention

A vapor barrier is a sheet of heavy duty plastic installed on the crawl space floor and sometimes the walls to block moisture rising from the soil. When installed correctly, it creates a sealed layer between damp ground and the wooden structure above. Most professionals recommend polyethylene sheeting rated at 12 to 20 mils thick, which resists tears and punctures better than lightweight tarps.
Full encapsulation goes further. It covers the entire crawl space floor, wraps up the foundation walls, seals around piers and posts, and integrates with dehumidification and drainage systems. Encapsulation reduces humidity, blocks mold growth, keeps out pests, and cuts down on drafts that make your floors cold in winter. It also makes future inspections easier because you can walk on a clean, dry surface instead of damp soil.
Professional installation typically costs between $5,000 and $15,000 depending on crawl space size, site conditions, and whether drainage or dehumidification equipment is included. DIY encapsulation is possible for smaller, accessible crawl spaces, but sealing seams and attaching the barrier to walls requires attention to detail. Any gaps or loose edges let moisture bypass the system.
Vapor Barrier Seam Sealing
Seams are the weak point in any vapor barrier. When you roll out sheets of polyethylene, overlap them by at least 12 inches at every seam. Use waterproof seam tape designed for crawl space barriers, not general purpose duct tape, which peels off in humid conditions. Press the tape firmly along the entire seam to create an airtight bond.
At the perimeter, pull the barrier several inches up the foundation wall and fasten it with mechanical fasteners or adhesive termination strips. Seal around piers, posts, and plumbing penetrations with tape or mastic to close every gap. The goal is to create a continuous sealed layer with no open edges where soil moisture can escape into the crawl space air.
Using Crawl Space Dehumidifiers and Humidity Monitoring Equipment
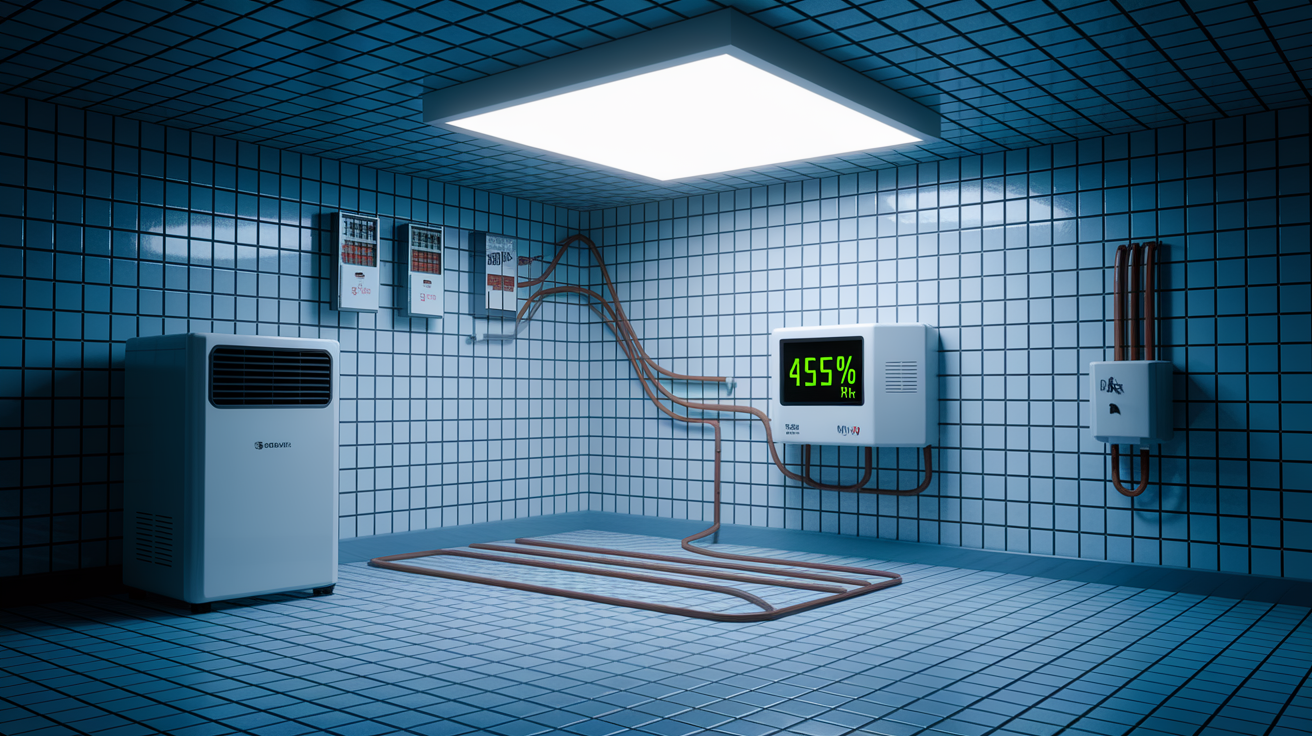
Dehumidifiers remove moisture from the air after it enters the crawl space. They work by pulling humid air across cold coils, condensing the water into a collection tray or drain line, and returning drier air to the space. Crawl space rated units are built to operate in cooler temperatures and higher humidity than typical basement models.
Your target is to keep relative humidity below 60 percent. The ideal range is 30 to 50 percent, which stops mold growth and protects wood framing and insulation. Crawl space dehumidifiers sized for residential use typically cost $1,500 to $4,000 for the equipment alone, plus installation labor if you hire a contractor. Place the unit in a central location with good airflow, and run a condensate drain line to a sump pump or exterior discharge point so you don’t have to empty a bucket.
| Device | Function | Typical Cost |
|---|---|---|
| Basic hygrometer | Displays current temperature and relative humidity on a digital screen | $10–$50 |
| Data logging humidity sensor | Records humidity over time and sends alerts when levels exceed set thresholds | $50–$200 |
| Moisture meter | Measures moisture content in wood and insulation to confirm drying progress | $50–$200 |
Install at least one hygrometer or data logger in your crawl space and check it monthly when you first set up moisture control. Once humidity stabilizes, quarterly checks are usually enough unless you notice musty odors or see condensation forming on surfaces.
Sealing Vents, Air Gaps, and Rim Joists to Block Moisture Intrusion

Air leaks around the rim joist, sill plate, and crawl space vents let humid outdoor air flow into the crawl space and condense on cooler surfaces. In summer, warm air carries more moisture, and when it meets the cool foundation walls or floor joists, water droplets form. In winter, cold air flowing through gaps can freeze and crack pipes or allow freeze thaw cycles to damage insulation.
Sealing these gaps is part of full encapsulation, but it also works as a standalone upgrade. Use spray foam or caulk to close gaps between the sill plate and foundation, around rim joists where the floor structure meets the walls, and at penetrations for plumbing, electrical, and HVAC lines. Foam board insulation cut to fit between rim joists adds an R value barrier and blocks drafts.
Rim joist bays. The space where floor joists rest on the foundation wall, often left open and drafty.
Sill plate seams. The gap between the wooden sill and the top of the concrete foundation, where air and pests enter.
Crawl space vents. Older homes were built with open vents for airflow, but modern encapsulation practice often seals them to prevent humid air intrusion.
Pier and post bases. Moisture wicks up through untreated wood posts in contact with damp soil or concrete, leading to rot at the base.
Check vent screens for tears or rust and replace damaged units. If you’re moving toward full encapsulation, you’ll seal the vents entirely and rely on conditioned air or a dehumidifier to control humidity instead of outdoor ventilation.
Sump Pumps, Interior Drains, and Groundwater Management

A sump pump is installed in a pit at the lowest point of the crawl space to collect and pump out groundwater before it spreads across the floor. When water rises into the pit, a float switch activates the pump and pushes the water through a discharge pipe that runs several feet away from the foundation. Sump pump units cost $300 to $800, and installed systems typically run $400 to $1,200 depending on labor and site conditions.
Interior perimeter drains or French drains inside the crawl space work with the sump pump to channel water from the edges of the space into the pit. These systems are most common when exterior drainage isn’t enough or when groundwater pressure is high after storms. Installation costs for perimeter drains range from $1,000 to $10,000 depending on the size of the crawl space and the complexity of the excavation.
Backup systems prevent flooding during power outages. Battery powered backup pumps or water powered backup units kick in when the primary pump fails or loses electricity. Some homeowners also install high water alarms that send a phone alert when the pit level rises too high.
-
Excavate a sump pit. Dig a hole at the crawl space’s low point, typically 18 to 24 inches deep and wide enough to fit a standard sump basin.
-
Install the pump and basin. Set the sump basin in the pit, level it, and connect the pump to a PVC discharge line that exits the crawl space and terminates several feet from the foundation.
-
Test and maintain annually. Pour water into the pit to verify the float switch activates and the pump discharges correctly, and clean debris from the basin each spring.
Seasonal Moisture Risks and Spring Maintenance Routine

Spring brings the highest moisture risk of the year. Snowmelt saturates the ground, heavy rainstorms increase groundwater pressure, and rising outdoor humidity makes crawl spaces damp even when no visible water’s present. Winter freeze thaw cycles open new cracks in foundation walls, and debris that accumulated over the cold months clogs gutters and vent wells.
Plan your main crawl space inspection for early spring, before the wettest weather hits. Check vapor barriers for tears, inspect dehumidifier operation and drain lines, look for new foundation cracks, and confirm that gutters and downspouts are clear and functional. If you had any moisture issues the previous year, this is the time to address them before they repeat.
Clean gutters and downspouts. Remove winter debris and extend discharge points if needed.
Inspect vapor barrier seams and fasteners. Retape any loose edges and replace torn sections.
Test sump pump and backup systems. Pour water into the pit and verify the pump activates and discharges correctly.
Replace wet or moldy insulation. Pull down any insulation that stayed damp over winter and install fresh, dry material rated for crawl spaces.
After major storms throughout the year, do a quick visual check for standing water, new cracks, or displaced vapor barrier. Catching problems early keeps small repairs from turning into expensive reconstruction projects.
DIY vs Professional Crawl Space Moisture Solutions

Homeowners can handle many moisture prevention tasks without specialized equipment or expertise. Cleaning gutters, extending downspouts, patching small foundation cracks with hydraulic cement, and replacing torn sections of vapor barrier are all common DIY jobs. Installing a basic hygrometer or moisture meter to monitor conditions is straightforward, and resealing rim joist gaps with spray foam or caulk requires only a few tools and an afternoon.
Professional help is necessary when the scope or risk exceeds typical homeowner skill. Large foundation cracks, structural movement, persistent standing water, or widespread mold growth all need trained contractors who can assess the root cause and recommend permanent solutions. Full encapsulation with integrated drainage and dehumidification systems involves coordination between vapor barriers, sump pumps, perimeter drains, and sealed vents. Most full encapsulation projects cost $5,000 to $15,000 and take several days to complete.
| Task Type | Typical Responsibilities |
|---|---|
| DIY | Gutter cleaning, downspout extensions, small crack patching, vapor barrier repairs, installing monitors, light grading, debris removal |
| Professional | Full encapsulation, sump pump and perimeter drain installation, structural crack repair, mold remediation, complex regrading, system integration |
| DIY with guidance | Installing crawl space dehumidifiers, sealing rim joists and sill plates, replacing wet insulation, seasonal maintenance checks |
| Always professional | Foundation stabilization, French drain excavation, encapsulation on large or difficult crawl spaces, electrical work for pumps and alarms |
When you’re deciding whether to DIY or hire help, ask yourself three questions: Do I have safe access to the crawl space? Can I identify the root cause of the moisture? Do I have the tools and time to complete the work correctly? If the answer to any of those is no, call a contractor for an inspection and estimate before you start. A professional assessment often costs a few hundred dollars and saves you from expensive mistakes or wasted effort on temporary fixes that don’t address the real problem.
Final Words
First, stop active water, clear gutters, and remove standing puddles while you check for damp insulation, musty odors, and soft wood. That short triage limits more damage.
Next, the article covered causes and fast fixes, including grading and drains, vapor barriers and dehumidifiers, sealing vents and rim joists, sump pumps, and seasonal checks, plus when DIY works and when to call a pro.
Follow these steps to stop immediate harm and plan permanent repairs so you know how to prevent crawl space moisture. You’ll get the space dry and the house back to normal.
FAQ
Q: What is the best way to keep a crawl space dry?
A: The best way to keep a crawl space dry is to stop water at the source: clean and extend gutters, regrade soil away from the foundation, fix leaks, install a heavy-duty vapor barrier, and control humidity with a dehumidifier and monitoring.
Q: Is 70% humidity too high for a crawl space and how do I lower it?
A: Seventy percent relative humidity is too high for a crawl space; aim for 30–50%. Lower it by fixing leaks, improving drainage and grading, adding a vapor barrier, running a crawl-space dehumidifier, and using hygrometers to monitor.
Q: Can I put a dehumidifier in my crawl space without encapsulation?
A: You can install a dehumidifier without encapsulation, but it’s less efficient and may run constantly; use a crawl-space-grade unit, ensure good airflow and drainage, monitor humidity, and plan for full encapsulation for best results.