
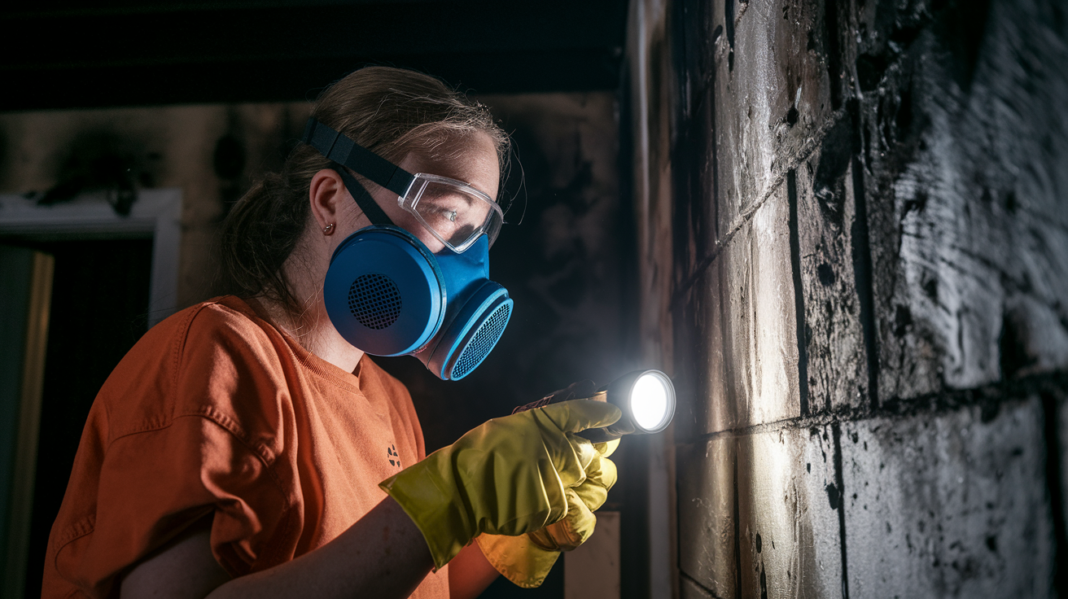

Painting over smoke damage without the right prep work just traps the odor and brings the stains right back through. You need a specific sequence: vacuum loose soot with HEPA equipment, dry-clean with chemical sponges, wet-clean with TSP or degreaser, rinse and dry completely, seal with stain-blocking primer, then repaint. Skip a step or rush the drying time and you’re redoing it in six months. This guide walks you through the full process so the repair actually lasts.
Safety Precautions and Protective Equipment Setup
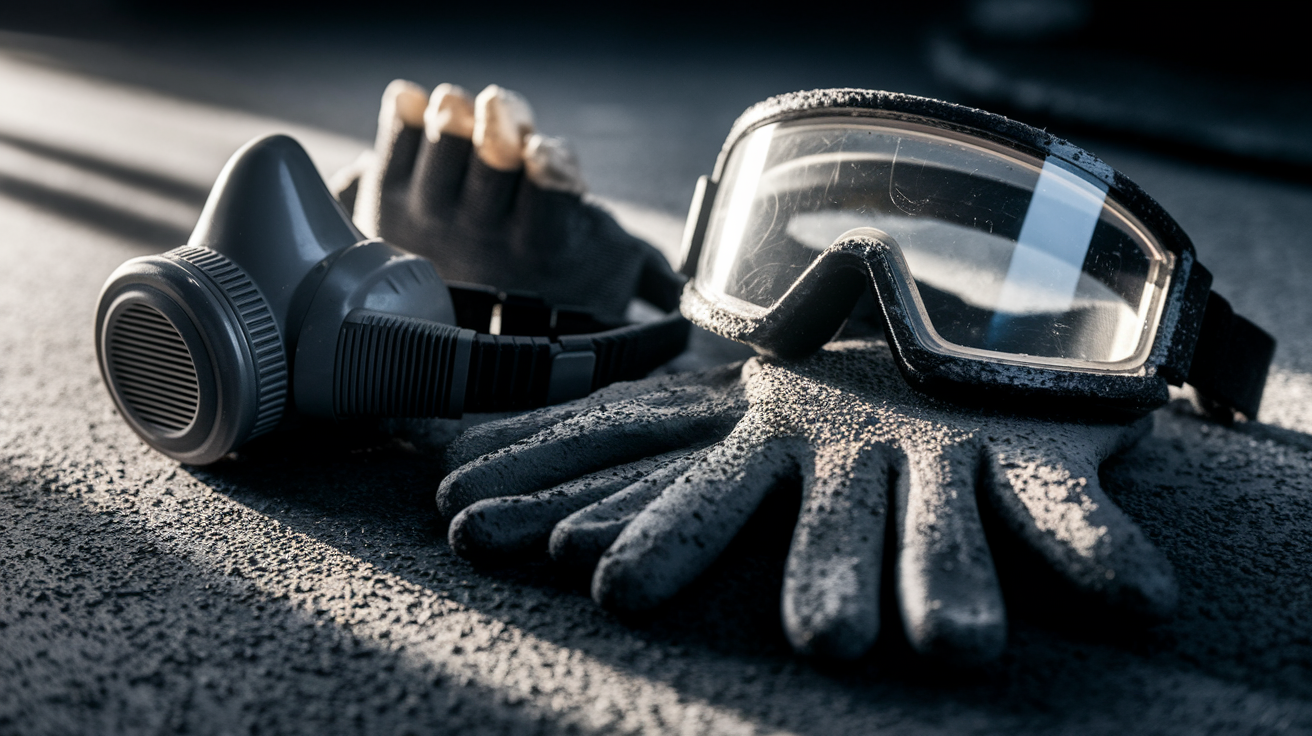
Smoke damage isn’t just messy. It’s toxic. Burned materials, plastics, and household chemicals leave behind particles and carcinogens that you really don’t want in your lungs or on your skin.
You need an N95 or P100 respirator mask, not some flimsy dust mask from the hardware store clearance bin. Safety goggles protect your eyes from soot that’ll make them burn and tear up. Heavy-duty rubber gloves prevent your skin from absorbing toxic residue and getting chemical burns from soot acids. Long sleeves and closed-toe shoes minimize contact with contaminated surfaces.
Set up ventilation before you touch anything. Open every window and door in the affected space. Position box fans facing outward so they pull contaminated air out and bring fresh air in. Place HEPA filter air purifiers around the space to catch airborne particles that get stirred up during cleaning. Seal off doorways to unaffected areas with plastic sheeting and painter’s tape so you’re not spreading contamination throughout your entire home. Cover furniture, floors, and anything you’re not actively cleaning with drop cloths because disturbed soot settles everywhere.
Complete Wall Restoration Process: From Assessment to Painting
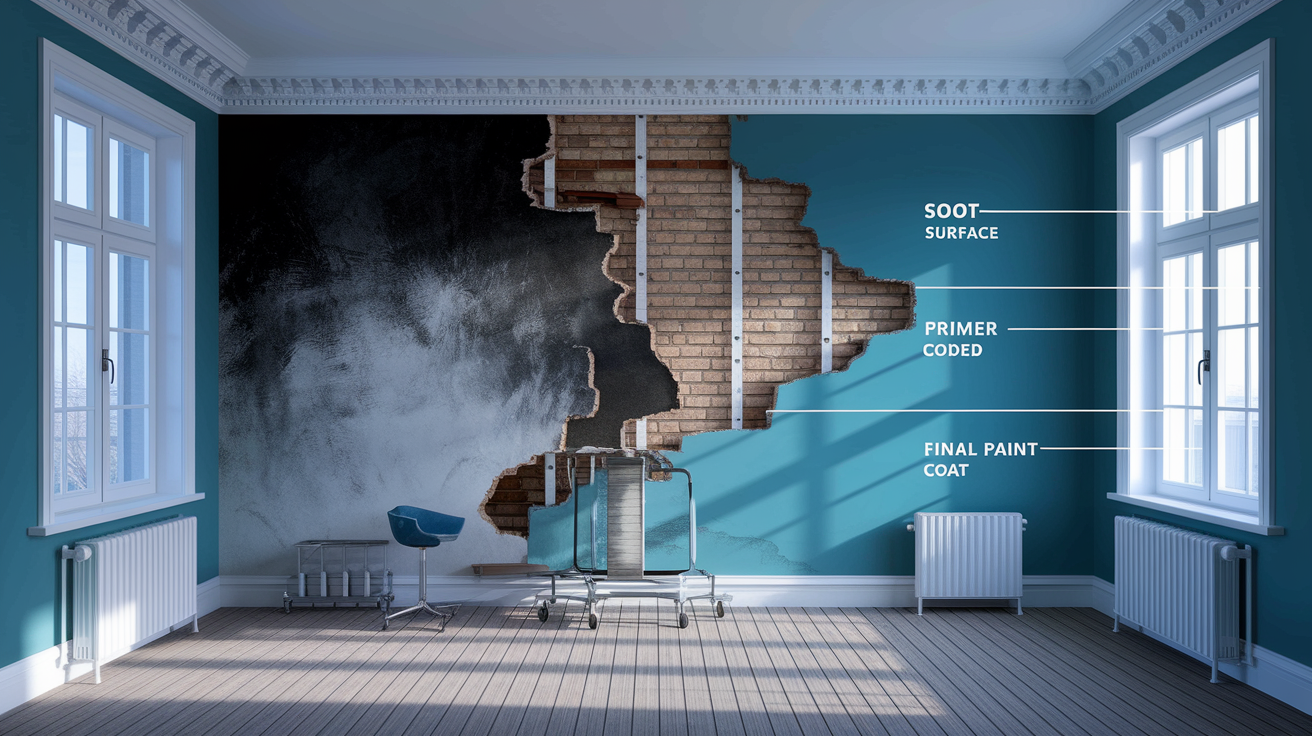
Smoke damage repair follows a specific sequence. Skip steps or do them out of order and you’ll either spread the damage or waste your time doing work that doesn’t last. The whole process typically takes 3 to 7 days depending on how bad things are and how thoroughly you complete each step.
Assess Damage Severity and Document Conditions
Start with a thorough visual inspection. Check for soot coverage, smoke stains, charring, discoloration, blistered or peeled paint, and wallpaper separating from the wall. Examine walls carefully for cracks, warping, or bulges that signal the structure itself got compromised. Use a moisture meter to detect hidden moisture trapped within walls from firefighting water, which leads to mold growth if you don’t address it.
Categorize what you’re dealing with. Light damage shows surface soot, wipeable stains, and intact paint that’s just discolored. Moderate damage means deep staining, yellowing that won’t wipe clean, and paint starting to separate. Heavy damage includes charring, heat discoloration that’s baked into the surface, and smoke penetration into the drywall itself.
Document everything with photos from multiple angles for insurance purposes. Check ceiling damage patterns because smoke rises and often causes worse damage overhead. Inspect HVAC vents for contamination since smoke travels through ductwork. Determine if walls can be restored or need replacement. When synthetic materials or chemicals were involved in the fire, professional assessment becomes critical because toxic residue requires specialized handling.
Vacuum Loose Soot with HEPA-Filtered Equipment
Use a vacuum with a HEPA filter held 1 to 2 inches above the wall surface. Never press the nozzle against the wall. Work top to bottom in overlapping vertical passes, moving slowly and methodically. Gentle suction removes loose ash particles and carbon deposits without smearing them deeper into the paint or drywall texture.
Don’t use a regular vacuum. It spreads microscopic particles through the exhaust and contaminates your entire home. This dry method must come before any wet cleaning to prevent soot from becoming permanent stains when moisture locks it in. Cover about 100 square feet at a time, emptying the vacuum frequently to maintain suction power.
Dry-Clean with Chemical Sponges
Apply chemical sponges in single-pass motions working top to bottom across the wall. These dry cleaning sponges made of vulcanized rubber lift soot through dry adhesion without water. Never scrub back and forth or use circular motions because this smears soot deeper into porous surfaces.
Use straight overlapping strokes, flipping the sponge to a clean side when one surface becomes saturated with soot. Replace sponges completely when both sides are saturated. Coverage expectation is one sponge handles 50 to 100 square feet depending on damage severity. This step removes surface soot that vacuuming missed and prepares the wall for wet cleaning without making things worse.
Wet-Clean with TSP Cleaner or Degreaser Solution
After dry cleaning removes loose material, address embedded stains with wet cleaning. Mix TSP cleaner at 1/4 cup per gallon of warm water for heavy smoke damage and nicotine stains that penetrated the paint. Apply with a soft sponge using a bottom-up technique in 3×3 foot sections to prevent streaking down the wall.
For lighter damage, use equal parts white vinegar and water that neutralizes odor while cleaning. For oily residue common after kitchen fires, use a commercial degreaser solution. For stubborn stains that won’t lift with liquid cleaners, create a baking soda paste with water and gently scrub with a soft brush.
Test all cleaning solutions on a small, hidden wall section first to prevent discoloration or paint damage you can’t reverse. Rinse each section with clean water before moving to the next area so cleaner doesn’t dry on the surface. Alternative cleaning solutions include pH-neutral enzyme cleaners, and choose products based on painted versus unpainted surfaces and ammonia-free formulas for sensitive areas.
Rinse and Dry Completely
Rinse cleaned walls with clean water using soft sponges, making multiple passes to remove all cleaner residue. Residue buildup interferes with primer adhesion and causes finish problems later. Avoid over-saturating drywall during rinsing because too much water damages the paper facing and gypsum core.
Towel-dry immediately after each section. Position fans for cross-ventilation and air circulation to accelerate drying time. Allow at least 24 hours drying time, extending to 48 or 72 hours in humid conditions or during damp weather. Use dehumidifiers in moisture-prone areas for mold prevention, especially in basements or rooms without windows.
After complete drying, lightly sand rough areas with 120-grit sandpaper to smooth the surface. Fill cracks or holes with patching compound, let it cure fully, then sand again after patching dries for a smooth finish. Remove all dust with microfiber cloths before priming. Complete drying before applying primer is critical to prevent mold growth and adhesion failure that leads to peeling paint.
Apply Stain-Blocking Primer
Use shellac-based primer for severe damage because it provides the best odor elimination and blocks nicotine stains most effectively. Oil-based primer offers excellent sealing for moderate damage. Water-based stain blocker works only for light damage with minimal penetration.
Work in 50 to 85°F temperature with low humidity for proper drying. Cut in edges with an angled brush around the ceiling line, baseboards, and corners first to create clean boundaries. Roll primer in a W-pattern for even coverage on main wall surfaces, which prevents roller marks and ensures consistent coating. Apply thin, even coats rather than one thick coat that takes forever to dry and may sag.
Allow proper curing time between coats, typically 2 to 4 hours but check manufacturer specifications because formulations vary. Apply at least 2 coats for moderate damage, 3 coats for heavy smoke penetration where staining goes deep. Test coverage by checking for bleed-through after drying. If you see yellowing or brown spots showing through, you need another coat.
Primer is the most critical step in the entire process. Skip it or use the wrong type and you’ll get stain bleed-through and recurring odors that ruin all your work. Total primer phase takes 1 to 2 days including drying time between coats.
Repaint with Interior Paint
After proper priming seals the damage, select appropriate paint for your finish. Latex paint offers ease of use and low odor for occupied homes. Oil-based paint provides better durability and washability in high-traffic areas. Choose your finish based on the room. Flat finish for low-traffic areas and ceilings where you don’t need washability, semi-gloss for kitchens and bathrooms where moisture resistance matters, satin for living spaces that balance appearance and cleanability.
Apply painter’s tape for edge protection along trim, ceiling lines, and baseboards to keep paint off surfaces you’re not refinishing. Use a W-pattern rolling technique with consistent pressure, maintaining a wet edge so sections blend seamlessly. Paint entire walls or rooms rather than spot-painting to ensure even finish and color matching. Trying to touch up just damaged areas creates obvious patches.
Apply at least 2 coats for full coverage that hides primer and provides uniform color. Allow 4 to 6 hours drying between coats for latex paint, 24 hours for oil-based formulas. Remove painter’s tape while the final coat is slightly tacky to prevent pulling up dried paint edges. Allow complete drying for 48 to 72 hours before final inspection and moving furniture back. Touch up any missed spots or thin areas with a small brush.
Each step builds on the previous one and shortcuts compromise your results. Following this complete sequence ensures both visual restoration and odor elimination instead of just covering up problems. Timeframe varies. 3 to 5 days for light damage in a single room, 5 to 7 days for moderate damage affecting multiple walls, 7+ days for heavy damage requiring multiple primer coats and extended drying. When damage is too severe with structural concerns, widespread charring, or persistent chemical smells, professional restoration becomes necessary because the work exceeds DIY capabilities and safety limits.
Essential Tools and Materials for Smoke Damaged Wall Repair
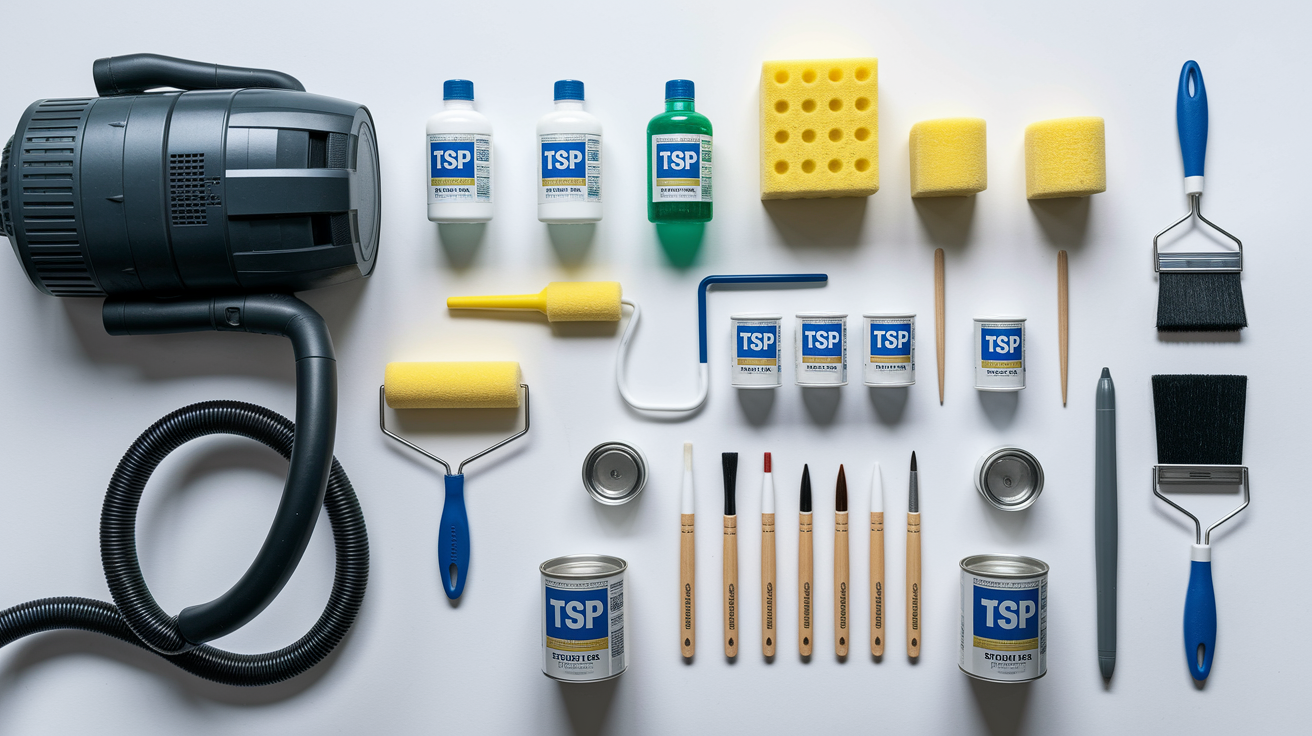
Having all materials ready before you start prevents workflow interruptions that extend your timeline and create uneven results. Specialized products designed for smoke damage deliver better results than trying to make household substitutes work.
| Phase | Required Items | Purpose |
|---|---|---|
| Cleaning Phase | HEPA vacuum, chemical sponges, microfiber cloths, spray bottles | Soot removal and cleaning |
| Washing Phase | TSP cleaner, degreaser solution, buckets, soft sponges | Deep cleaning and residue removal |
| Preparation Phase | Drop cloths, painter’s tape, sandpaper (120-grit), patching compound | Surface prep and protection |
| Priming Phase | Stain-blocking primer (shellac or oil-based), primer brushes, roller and tray | Sealing and odor blocking |
| Painting Phase | Interior paint (latex or oil-based), paint brushes, rollers, extension pole | Final restoration |
Estimated total cost for DIY materials runs $150 to $400 depending on room size and damage severity. Source specialized items like chemical sponges and shellac-based primers at hardware stores or restoration supply companies. Big box stores carry these products but selection varies by location. You’ll also need ladder safety equipment for ceiling work and overhead sections, including a stable step stool for areas within 8 feet and an extension ladder for higher walls. Make sure your ladder has non-slip feet and set it on stable, level ground.
Eliminating Smoke Odors and Deodorizing Methods
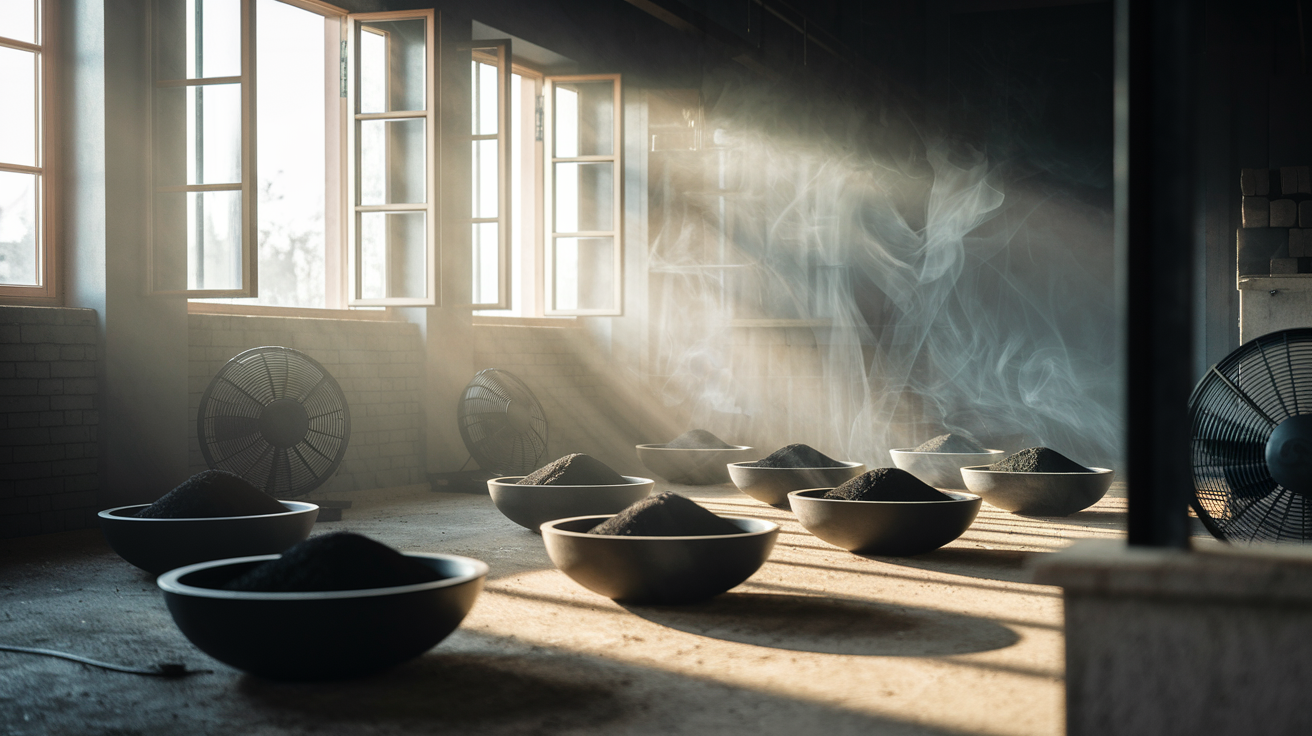
Odor elimination requires a different approach than visual restoration because smell molecules penetrate porous materials beyond wall surfaces. Smoke odors travel through insulation, ductwork, carpeting, and anything fabric in the affected space.
Extended ventilation means continuous fresh air circulation for 5 to 7 days minimum with windows open and fans running to keep contaminated air moving out. Activated charcoal placement in bowls throughout affected rooms absorbs odor molecules from the air. Replace every 3 to 4 days as charcoal becomes saturated. White vinegar bowls as natural deodorizer help eliminate lingering smells. Change daily for best results. Commercial enzyme cleaners break down smoke molecules at the source rather than just masking odor. HEPA air purifiers running 24/7 during and after restoration capture airborne particles that carry smell. HVAC cleaning including air duct inspection and filter replacement prevents contaminated air from recirculating through your entire home.
Advanced methods handle persistent odors that basic approaches don’t eliminate. Thermal fogging uses heated deodorizing solution that penetrates surfaces the same way smoke did, neutralizing odor at the molecular level. Ozone treatment requires vacating your home and professional application because ozone is dangerous to breathe, but it breaks down odor molecules in places you can’t physically reach. These air treatments penetrate insulation, ductwork, and ventilation systems beyond surface-level restoration that only addresses what you can see and touch. Safety considerations for ozone mean you cannot be present during treatment and must air out the space thoroughly before reoccupying.
Recurring odors troubleshooting starts with identifying the source. If smell returns after you think you’ve eliminated it, the source may be in your HVAC system, inside wall cavities, or in areas you didn’t clean thoroughly. Timeline for odor dissipation with proper methods runs 2 to 4 weeks as trapped molecules gradually release and air out. When lingering smells persist beyond a month despite your best efforts, it signals need for professional intervention with industrial equipment you can’t rent or buy.
Handling Ceiling Damage and Specialized Wall Surfaces
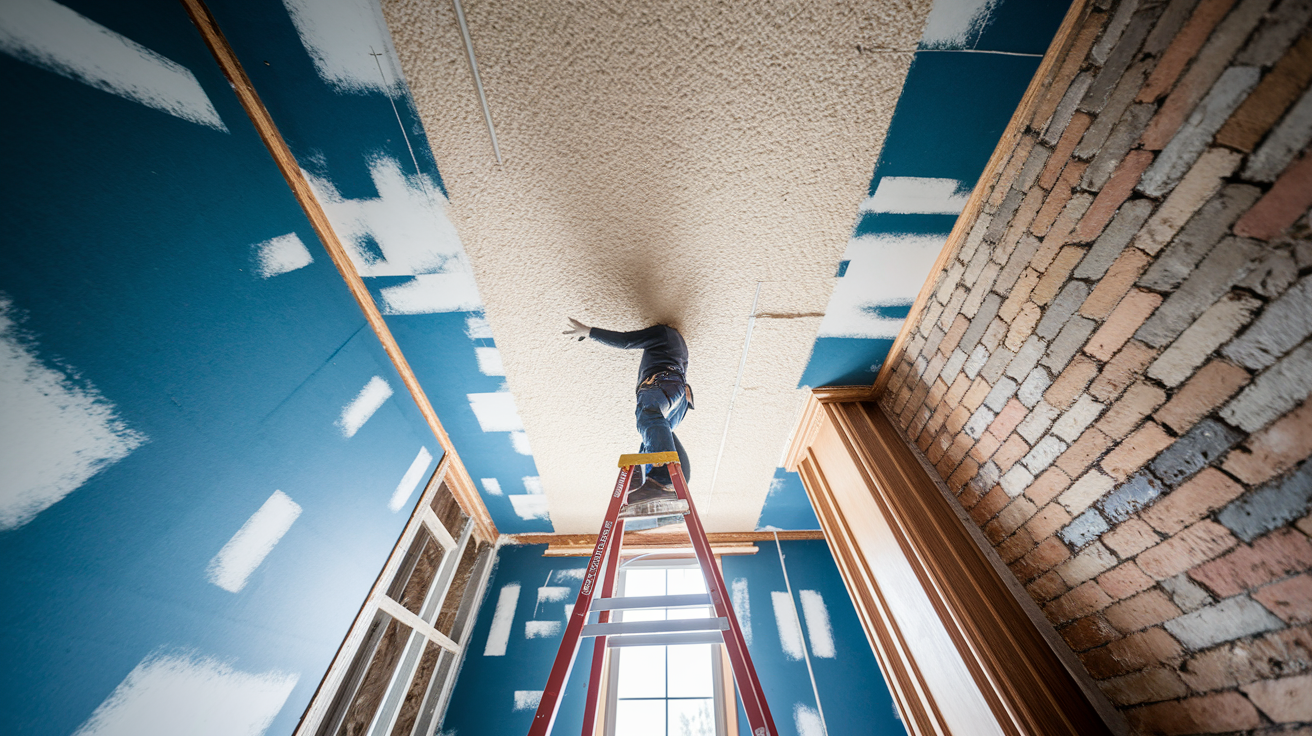
Standard drywall techniques don’t work for all surfaces you’ll encounter. Ceiling damage and specialty materials need adapted approaches that account for different absorption rates, textures, and structural properties.
Ceiling Damage Restoration
Overhead work requires proper ladder placement and extension poles for safe access without overreaching. Set your ladder at the correct angle and never stand on the top two rungs. Use extension poles for rolling to eliminate constant climbing and repositioning.
Ceilings require increased primer requirements compared to walls because gravity causes more stain bleed-through as molecules try to work their way through the coating. Plan on at least 3 coats of primer for ceiling smoke damage even when walls only need 2. Ceilings almost always require flat finish paint because any sheen highlights imperfections and looks wrong overhead.
Working overhead causes neck and shoulder fatigue quickly. Take breaks every 20 to 30 minutes to avoid strain injuries and maintain quality work. Rushing through ceiling work when you’re tired leads to drips, missed spots, and uneven coverage.
Brick, Concrete and Masonry Walls
Porous materials absorb smoke more deeply than sealed drywall surfaces because they have no protective coating to limit penetration. Soot and smoke particles soak into the material structure itself.
Use specialized masonry cleaners and adjust TSP dilution ratios for unsealed surfaces, typically 1/2 cup per gallon for heavy-duty cleaning on brick or concrete. Work in small sections because these surfaces absorb liquid quickly. Scrub with stiff nylon brushes rather than soft sponges because you need mechanical action to pull contamination from porous textures.
Seal surfaces after cleaning to prevent future absorption and make subsequent cleaning easier. Masonry sealers create a protective barrier without changing appearance. Texture matching isn’t an issue with brick or concrete, but color restoration is challenging because smoke often permanently stains light-colored masonry. Sometimes paint becomes the only solution for uniform appearance.
Wallpaper, Trim and Baseboards
Wallpaper removal becomes necessary after smoke damage because you cannot clean it adequately and it traps odors underneath. The paper absorbs smoke and holds smell even after wall cleaning. Strip all affected wallpaper, clean the wall underneath thoroughly, then decide whether to re-paper or paint.
Trim restoration and baseboard cleaning require detail work with small brushes and cotton swabs to get into grooves, corners, and decorative elements. Use the same cleaning sequence. Dry sponge first, then wet clean, then rinse. Decide whether trim should be removed, cleaned separately, then reinstalled versus cleaned in place. Removal allows more thorough cleaning but requires carpentry skills for proper reinstallation.
After trim cleaning, inspect caulk lines and paint for damage. Touch up caulk gaps with fresh sealant and paint edges where cleaning removed coating. Small detail work makes the difference between restoration that looks professional and work that looks patched together.
Professional Restoration Versus DIY Smoke Damage Repair
Not all smoke damage is DIY-appropriate even if you have time and willingness. Proper assessment of what you’re facing determines the best approach for your situation and capabilities.
| Scenario | DIY Appropriate | Professional Recommended |
|---|---|---|
| Single room, light soot | Yes | Not typically needed |
| Multiple rooms, moderate damage | Possible with time/skill | Faster, more thorough results |
| Structural concerns, heavy charring | No | Required for safety |
| Persistent odors after DIY attempts | No | Specialized equipment needed |
Professional advantages include industrial equipment you can’t rent, thermal fogging capability, ozone treatment systems, and experience assessing structural integrity beyond surface appearance. Restoration companies coordinate both fire damage and water damage work comprehensively, addressing the mold growth that often follows firefighting efforts. They assist with insurance claim documentation by providing detailed reports and damage estimates that help you get proper compensation. Warranty considerations matter too. Professional work typically includes guarantees on odor elimination and finish quality. Emergency response capability means immediate stabilization to prevent damage from spreading while you wait to start repairs.
DIY cost estimation runs $200 to $500 for materials and supplies when you’re handling a single room with light to moderate damage. Professional cost estimation ranges from $2,000 to $10,000+ depending on extent including room count, damage severity, and total square footage affected. Timeframe expectations differ. DIY takes 5 to 10 days working part-time around your schedule, professional crews complete most jobs in 3 to 7 days working full-time with multiple technicians. When to call professionals immediately includes confirmed health hazards from materials that burned, compromised structure with sagging or unstable walls, smell of chemicals or plastics that indicates toxic residue, or synthetic material involvement that creates dangerous contamination beyond typical wood smoke.
Common Mistakes and Troubleshooting Smoke Wall Repair
Awareness of common mistakes saves time, money, and the frustration of redoing work that didn’t turn out right. Many failures stem from rushing the process instead of allowing proper time for each phase.
Starting wet cleaning before removing loose soot creates permanent smearing as moisture locks particles into the surface. Using regular household sponges instead of chemical sponges for dry cleaning smears rather than lifts soot. Scrubbing in circular motions instead of single-direction passes pushes contamination deeper into porous surfaces. Over-wetting walls during cleaning phase causes water damage and drywall deterioration that creates bigger problems than you started with. Skipping primer or using wrong primer type allows stains to bleed through and ruins your paint finish. Painting before complete drying traps moisture that causes adhesion failure, promotes mold growth, and leads to peeling. Spot-painting instead of full wall coverage creates obvious color and texture mismatch that looks unprofessional.
Troubleshooting guide for problems that appear after you think you’re done starts with identifying what went wrong. If yellowing walls appear after painting, your primer was insufficient or you used the wrong type for the severity of damage. If recurring odors persist after restoration is complete, the source may be in your HVAC system, trapped in insulation, or in areas that weren’t cleaned at all. If paint peels or bubbles within days or weeks, the surface wasn’t dry or wasn’t properly prepared before coating. Solutions for each scenario include adding additional primer coats using shellac-based formula, calling for professional odor treatment with equipment you don’t have access to, or stripping failed paint and restarting preparation from the beginning.
Final inspection checklist before you consider the job complete includes uniform color with no visible variation across surfaces, no visible stains bleeding through from underneath, no residual odor when you walk into the room, and smooth texture without rough patches or obvious repairs. Long-term maintenance means monitoring for any returning discoloration in the first 30 days as trapped contamination occasionally works its way back to the surface. A thorough quality check ensures lasting restoration instead of cosmetic cover-up that fails within months.
Final Words
Smoke damage repair is methodical work that rewards patience and proper sequencing. When you assess damage severity, remove soot carefully, clean with the right products, dry completely, prime with stain blockers, and repaint with quality materials, you’re rebuilding protection for your home.
The steps matter. Rushing through or skipping phases leads to stains bleeding back through and odors that won’t leave.
If you’re facing heavy damage, structural concerns, or persistent smells after your best efforts, that’s when professional restoration makes sense. We handle the sequence from stabilization through finish work so you get back to normal faster.
Your walls can look clean and feel safe again.
FAQ
Can I paint over smoke-damaged walls?
You can paint over smoke-damaged walls only after proper preparation, but you cannot skip the cleaning and priming steps. Painting directly over smoke damage causes stains to bleed through, odors to persist, and paint adhesion to fail completely within weeks.
What’s the best paint for smoke damage?
The best paint for smoke damage is applied after stain-blocking primer, not instead of it. Use latex paint for most interior walls or oil-based paint for high-durability needs, but the primer does the actual smoke-blocking work, not the topcoat.
Will Kilz cover smoke damage?
Kilz stain-blocking primer will cover smoke damage when you use their oil-based or shellac-based formulations, not their basic water-based versions. You still need to clean walls thoroughly before applying Kilz, then finish with two coats of interior paint for complete restoration.
Can smoke damage be repaired?
Smoke damage can be repaired through a complete sequence: vacuuming loose soot, dry-cleaning with chemical sponges, wet-washing with TSP cleaner, rinsing and drying completely, applying stain-blocking primer, and repainting. Light to moderate damage is DIY-repairable in 3-7 days.
Do I need to remove wallpaper before repairing smoke damage?
You need to remove wallpaper before repairing smoke damage because wallpaper traps smoke particles and odors that cannot be cleaned adequately. Smoke penetrates behind wallpaper into the adhesive layer, making proper restoration impossible without complete removal.
How long does it take for smoke odors to disappear after cleaning?
Smoke odors disappear 2-4 weeks after proper cleaning when you combine surface restoration with air treatment methods like activated charcoal, extended ventilation, and HEPA filtration. Persistent smells beyond four weeks indicate incomplete cleaning or hidden contamination requiring professional treatment.
Should I clean walls from top to bottom or bottom to top?
You should vacuum and dry-clean walls from top to bottom to prevent soot from falling onto cleaned areas, but wet-clean from bottom to top to prevent streaking. Rinse each section immediately after washing, then towel-dry before moving to the next area.
When should I hire professionals instead of doing DIY smoke damage repair?
You should hire professionals when facing structural damage like cracks or warping, widespread heavy charring, persistent chemical smells, or when DIY cleaning attempts fail to eliminate odors. Professional restoration becomes necessary for multi-room damage or when synthetic materials burned.
How many coats of primer do I need for smoke-damaged walls?
You need minimum 2 coats of stain-blocking primer for moderate smoke damage and 3 coats for heavy smoke penetration or nicotine staining. Test coverage after drying by checking for bleed-through, then add another coat if any discoloration shows through.
Can I use a regular vacuum to remove soot from walls?
You cannot use a regular vacuum to remove soot from walls because standard vacuums exhaust fine smoke particles back into the air through their filters. Use only HEPA-filter vacuums held 1-2 inches above wall surfaces without pressing against them.
What’s the difference between chemical sponges and regular cleaning sponges?
Chemical sponges differ from regular sponges because they’re made of vulcanized rubber that lifts soot through dry adhesion without water or chemicals. Regular sponges smear soot when used dry and require moisture that can damage walls before proper cleaning sequence.
Why does my paint keep peeling after repairing smoke damage?
Your paint keeps peeling after smoke damage repair because walls weren’t completely dry before priming, cleaning residue wasn’t fully rinsed, or you skipped proper surface preparation. Strip failed areas, allow 48-72 hours drying time, then restart from the preparation phase.