Think you can just sand down fire damaged wood and call it fixed? That approach usually fails because smoke particles already penetrated deep into the grain where your sandpaper can’t reach them. Restoring fire damaged wood requires knowing what you’re actually dealing with, from surface soot to structural char, and matching the right technique to the specific damage level. This guide walks you through safe assessment, proper cleaning sequences, char removal that preserves salvageable wood, and odor elimination methods that actually work instead of just covering up the problem temporarily.
Safety Protocols and Initial Damage Assessment
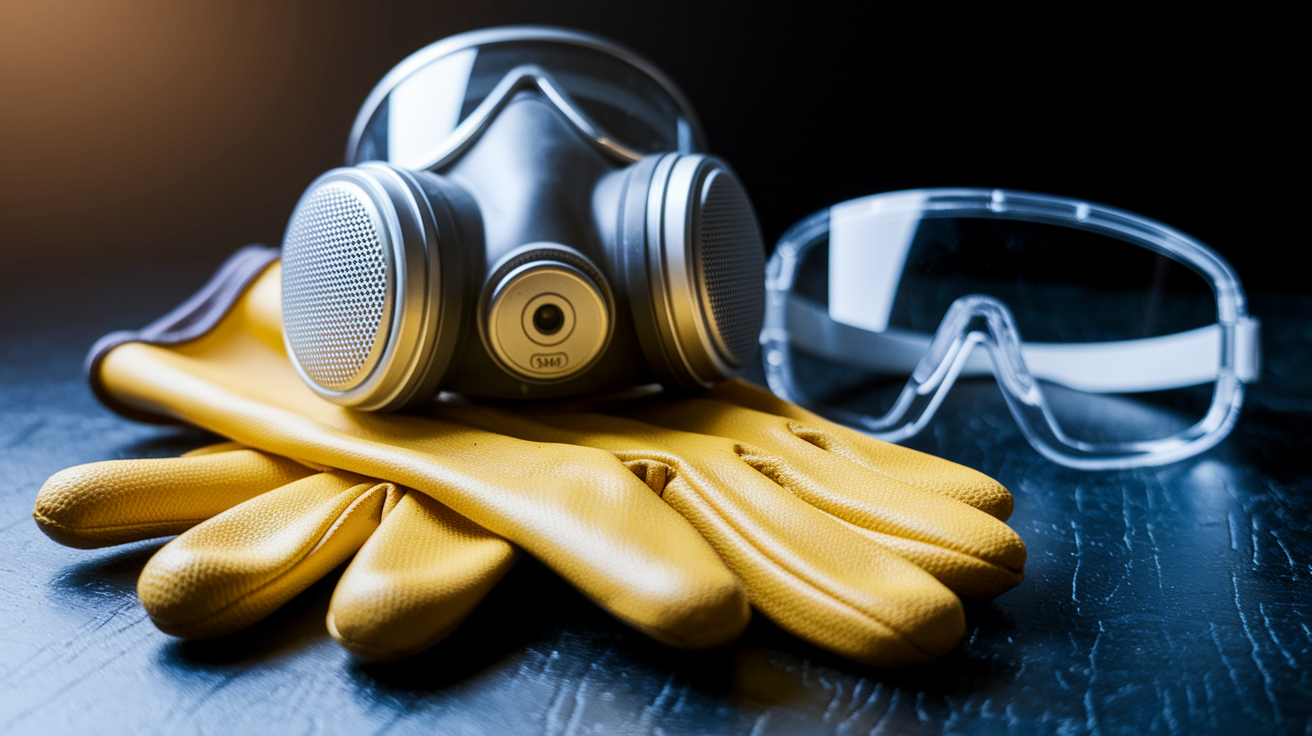
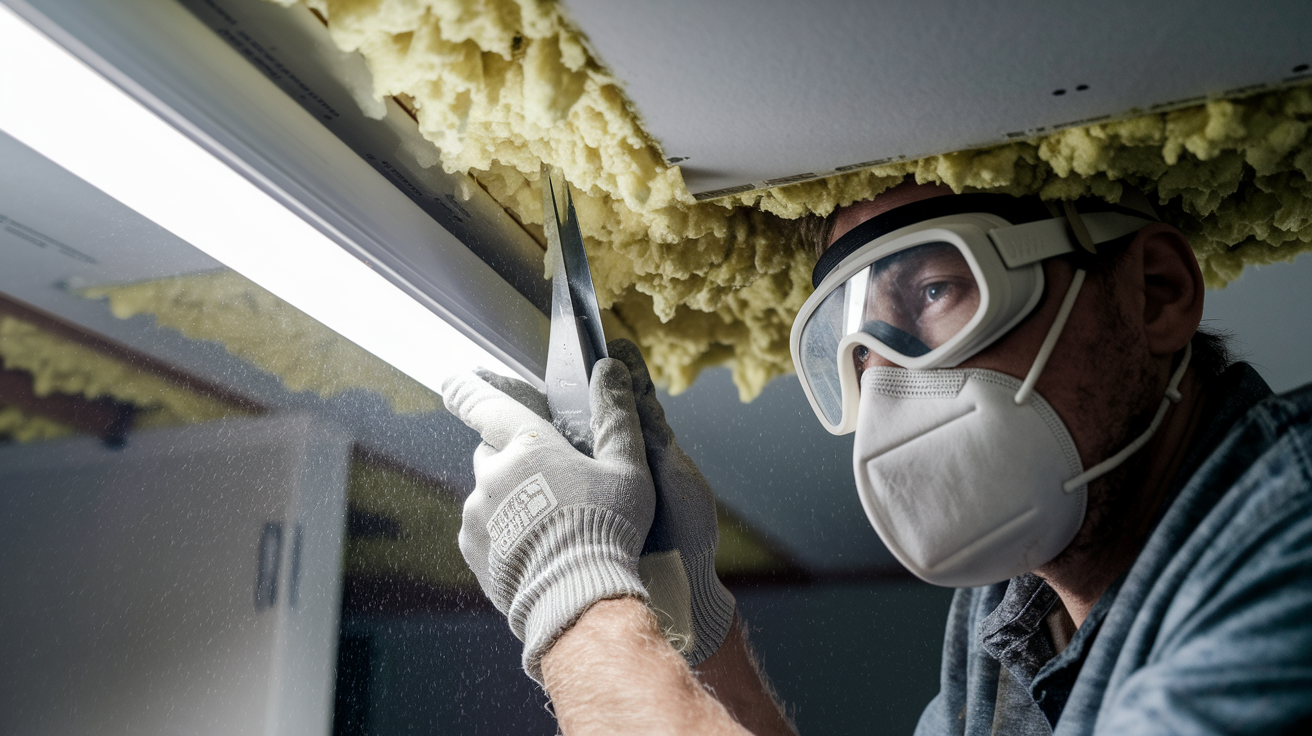
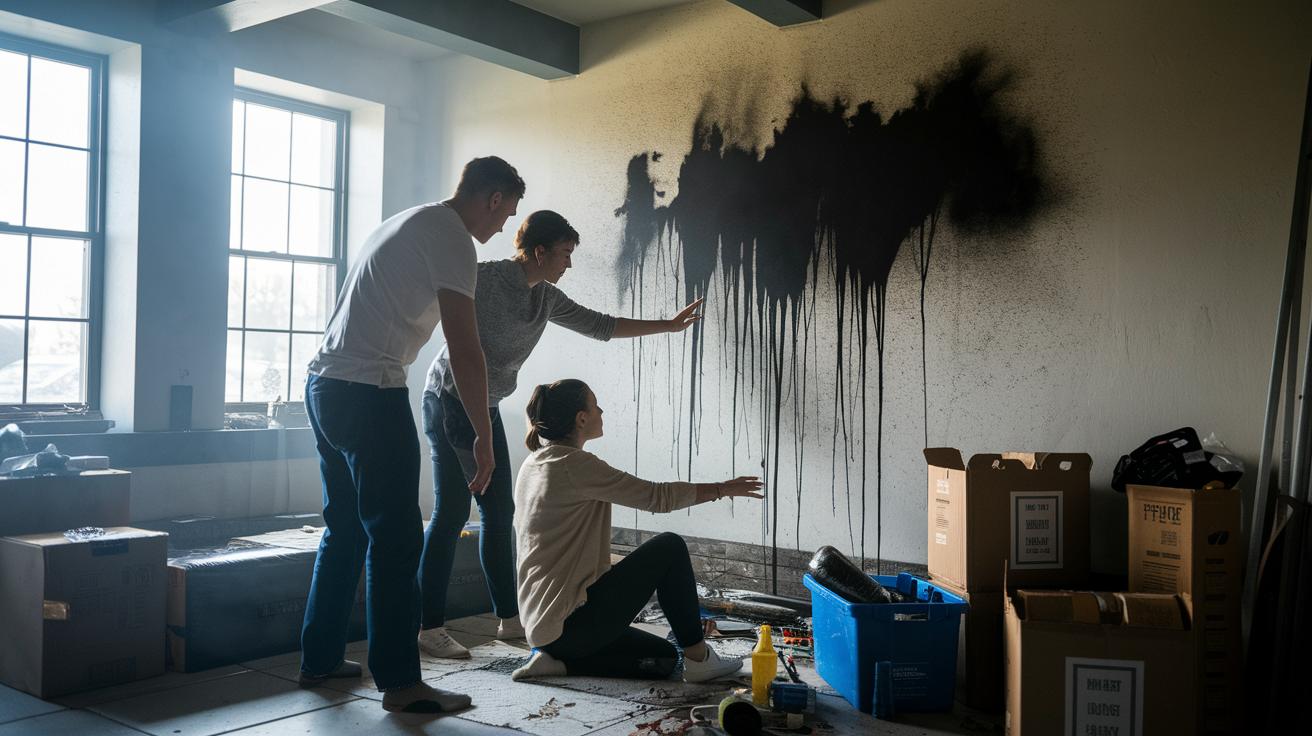
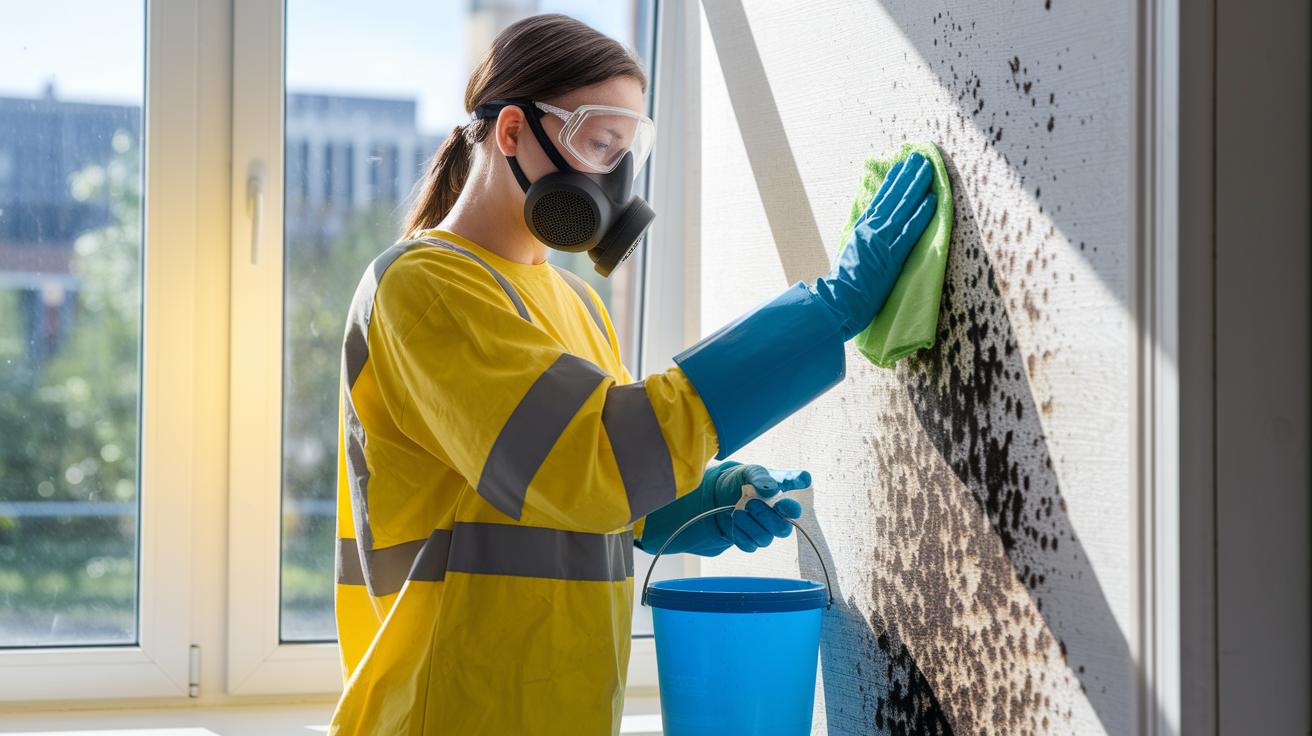
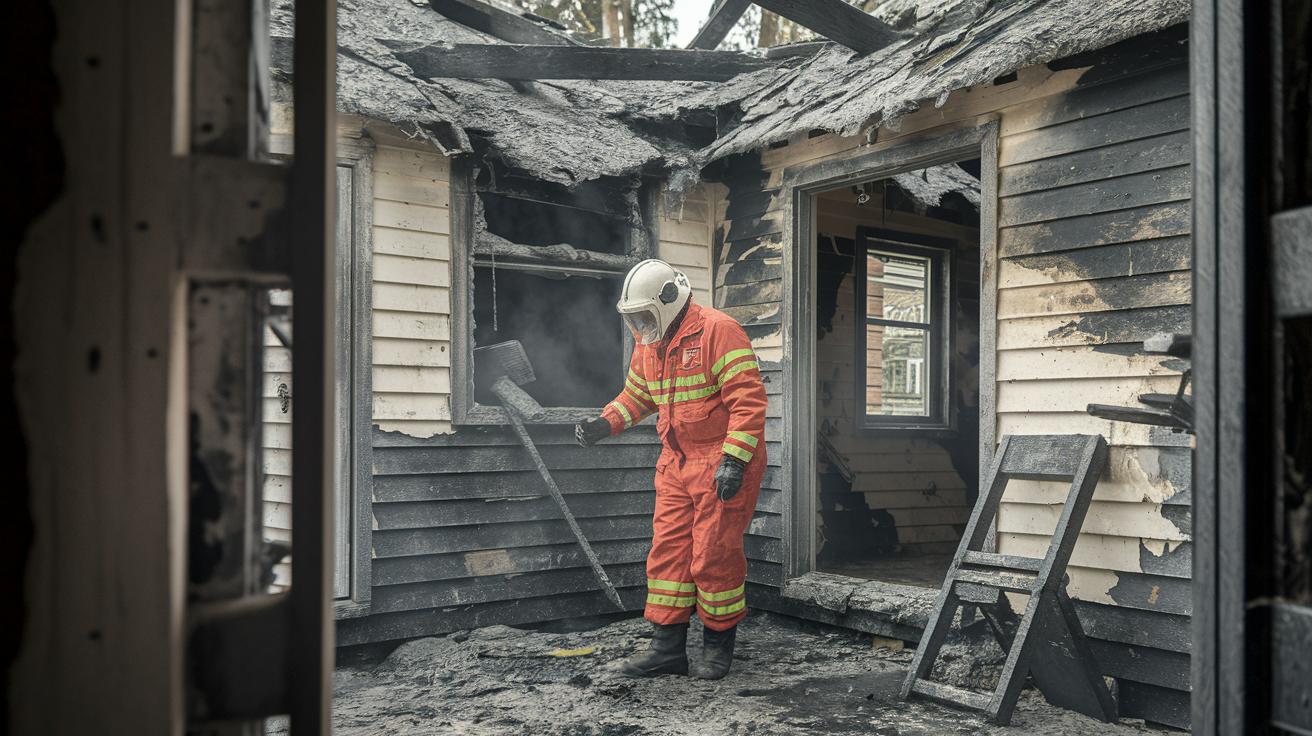
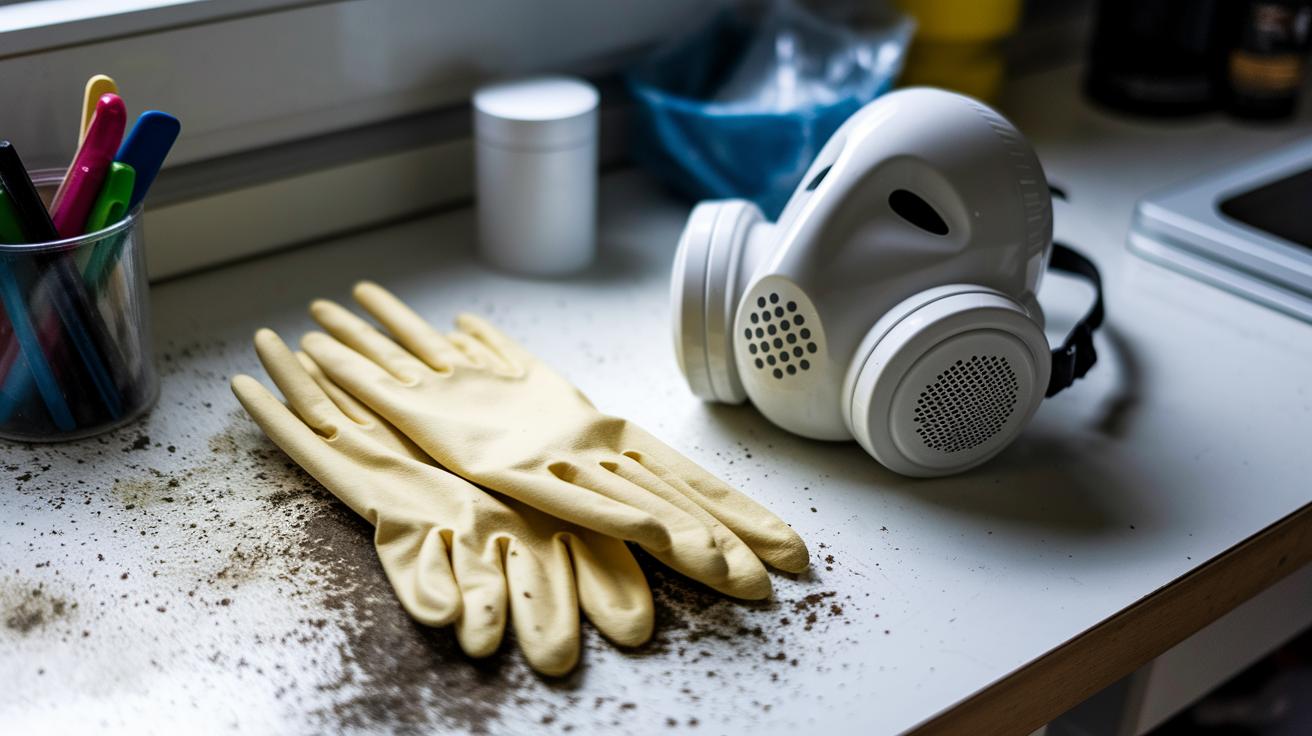
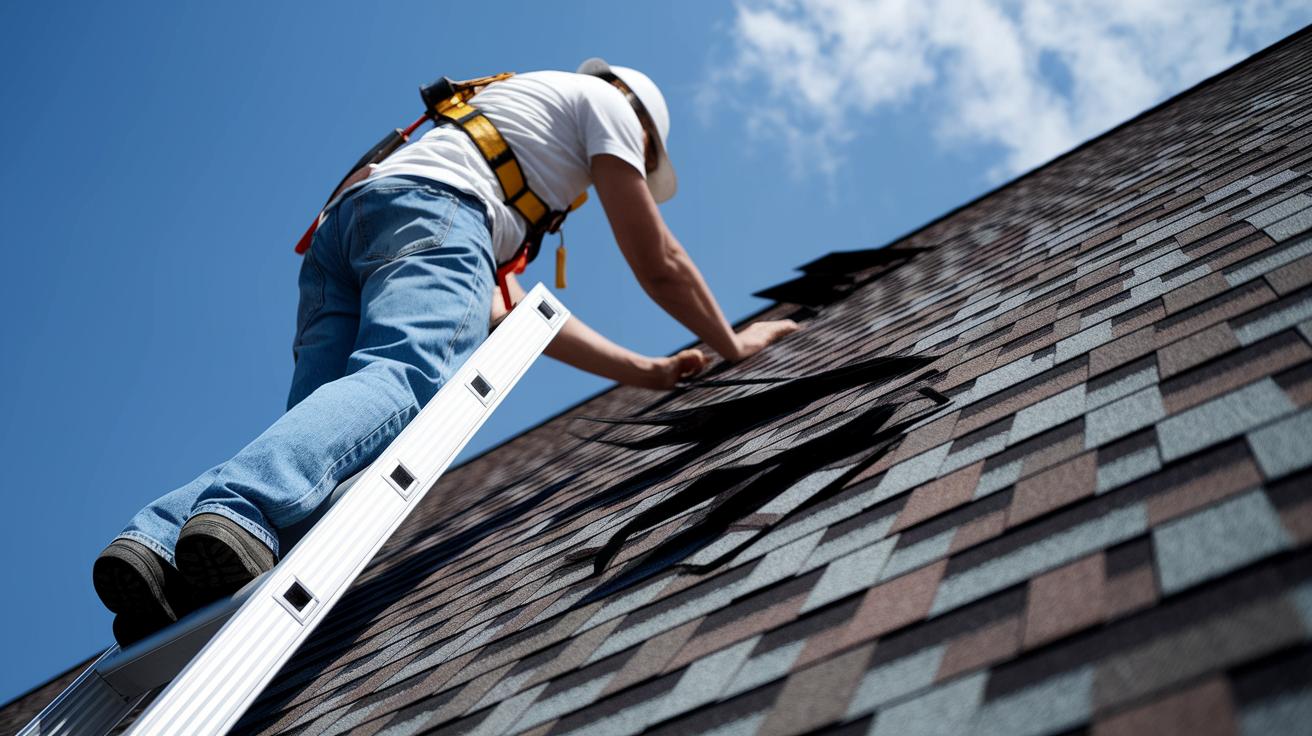
Before you touch any fire damaged wood, put on heavy duty gloves rated for chemical protection, protective eyewear to shield against eye irritation, and a respirator or mask rated for toxic particles. Fire residues contain toxic chemicals and dangerous particles that aren’t safe to inhale, and proper ventilation during initial assessment is mandatory.
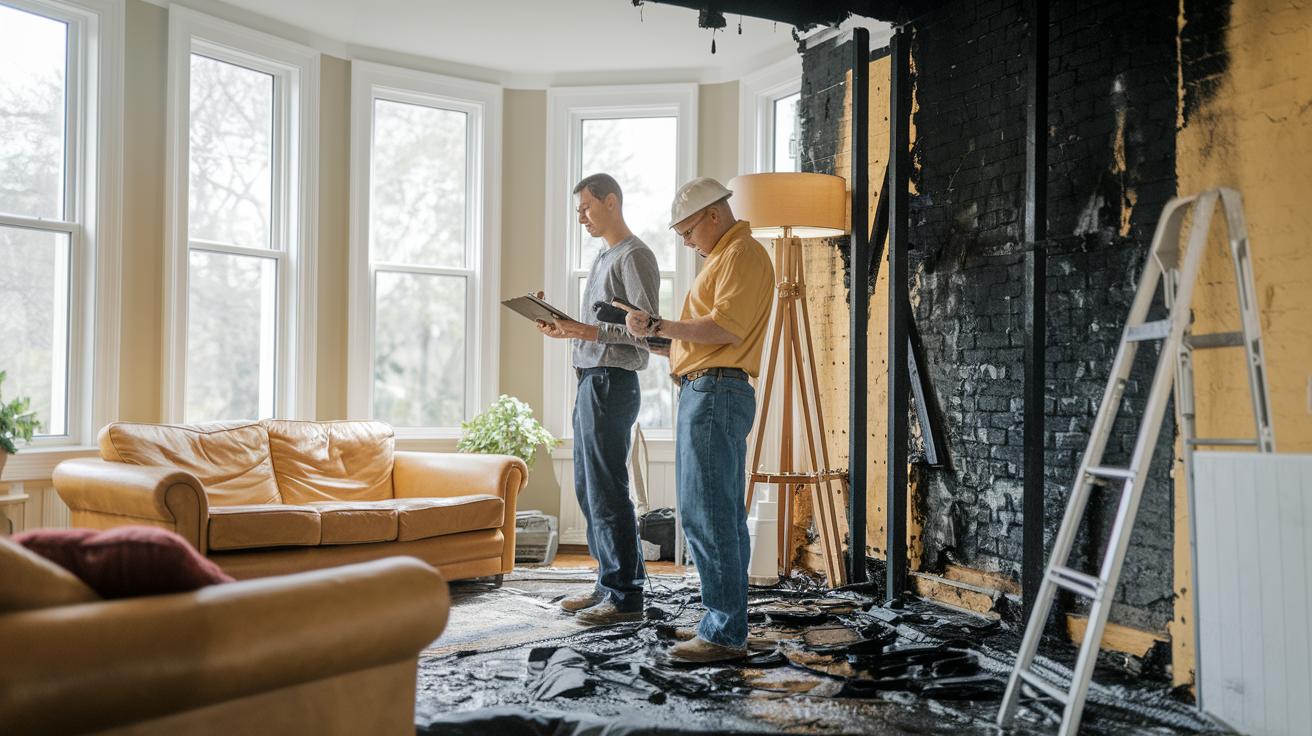
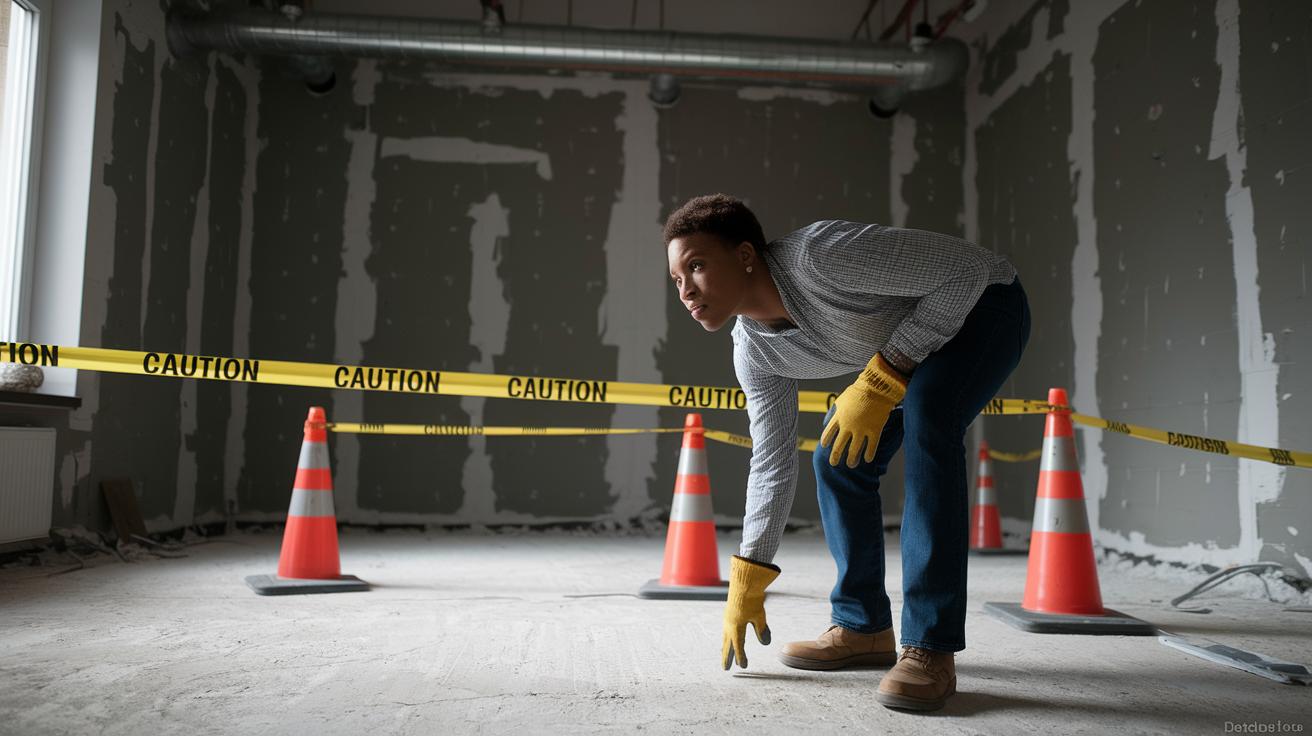
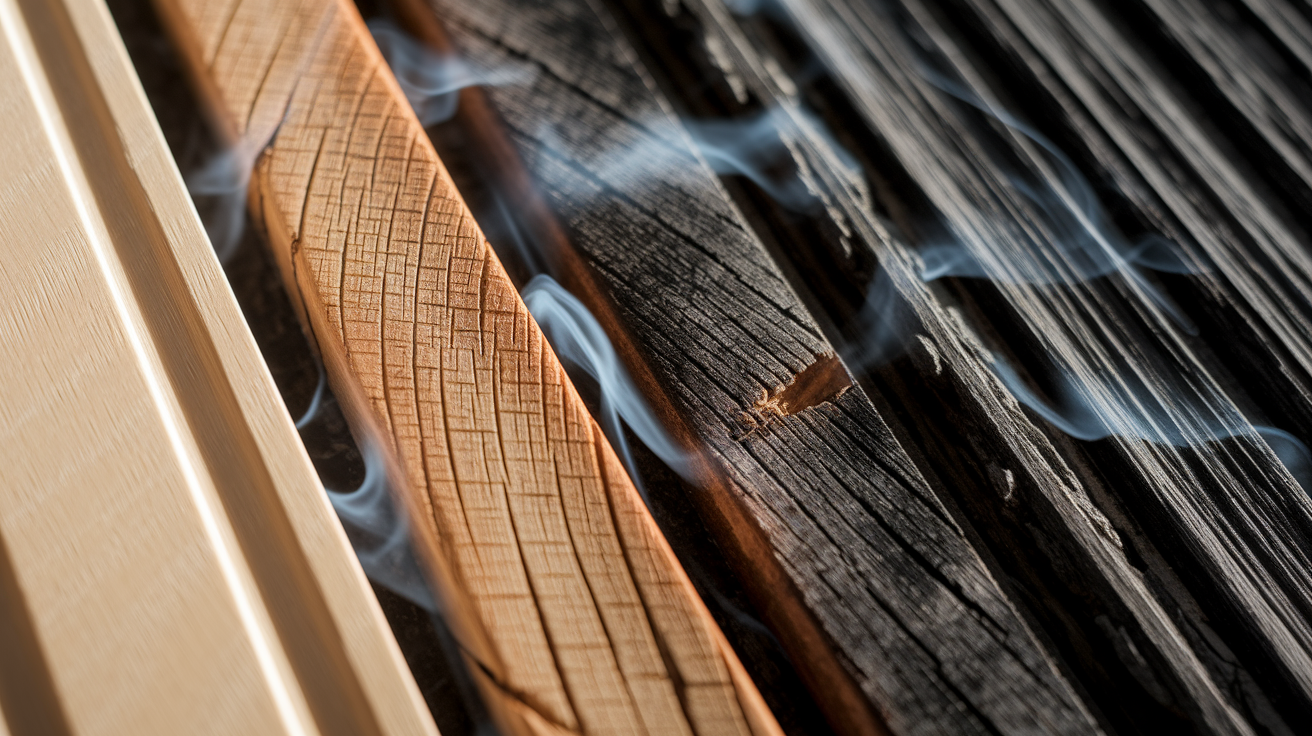
A structural engineer must assess wood integrity before any restoration work begins. This isn’t optional. Structural engineers perform allowable stress tests on portions of wood to determine if they remain suitable for support. They’ll identify three distinct damage levels: soot staining from smoke on distant wood, darkening from smoldering on closer wood, and charred outer layers on wood near the flame source. The engineer’s evaluation will distinguish between salvageable damage and replacement required damage based on fire duration and heat intensity.
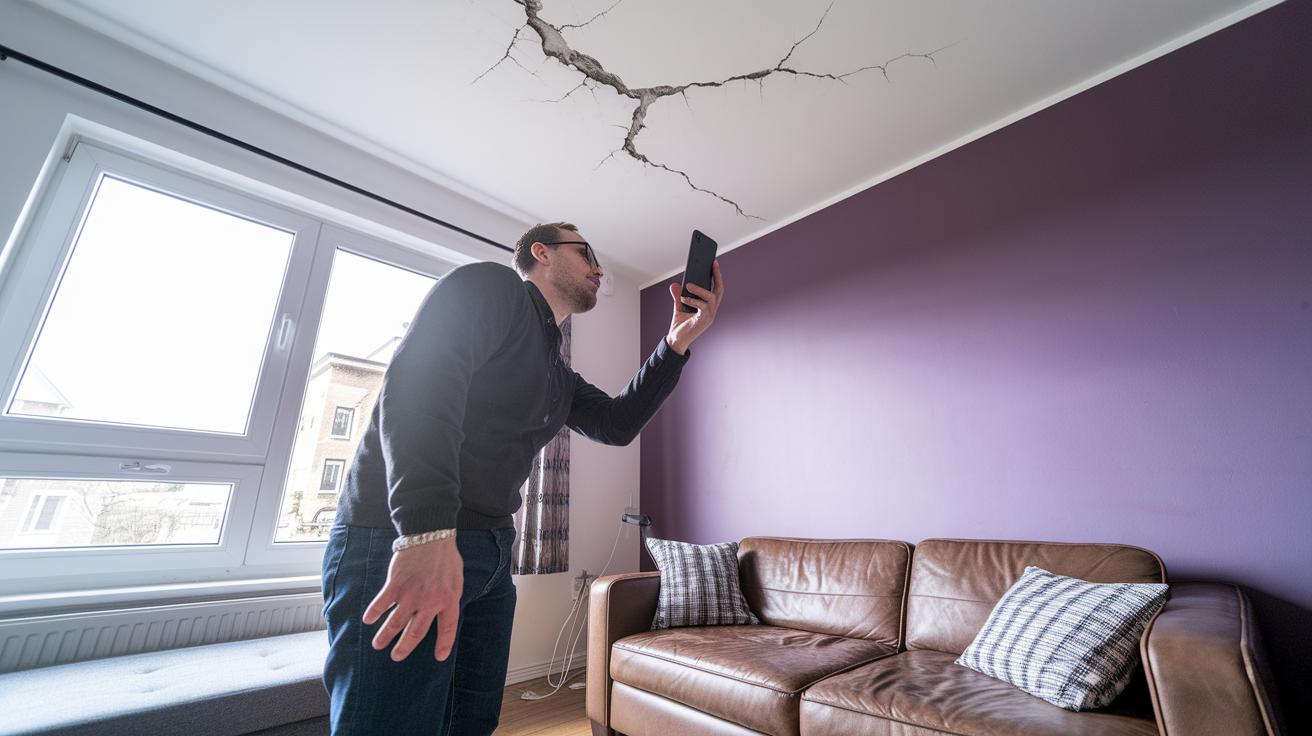
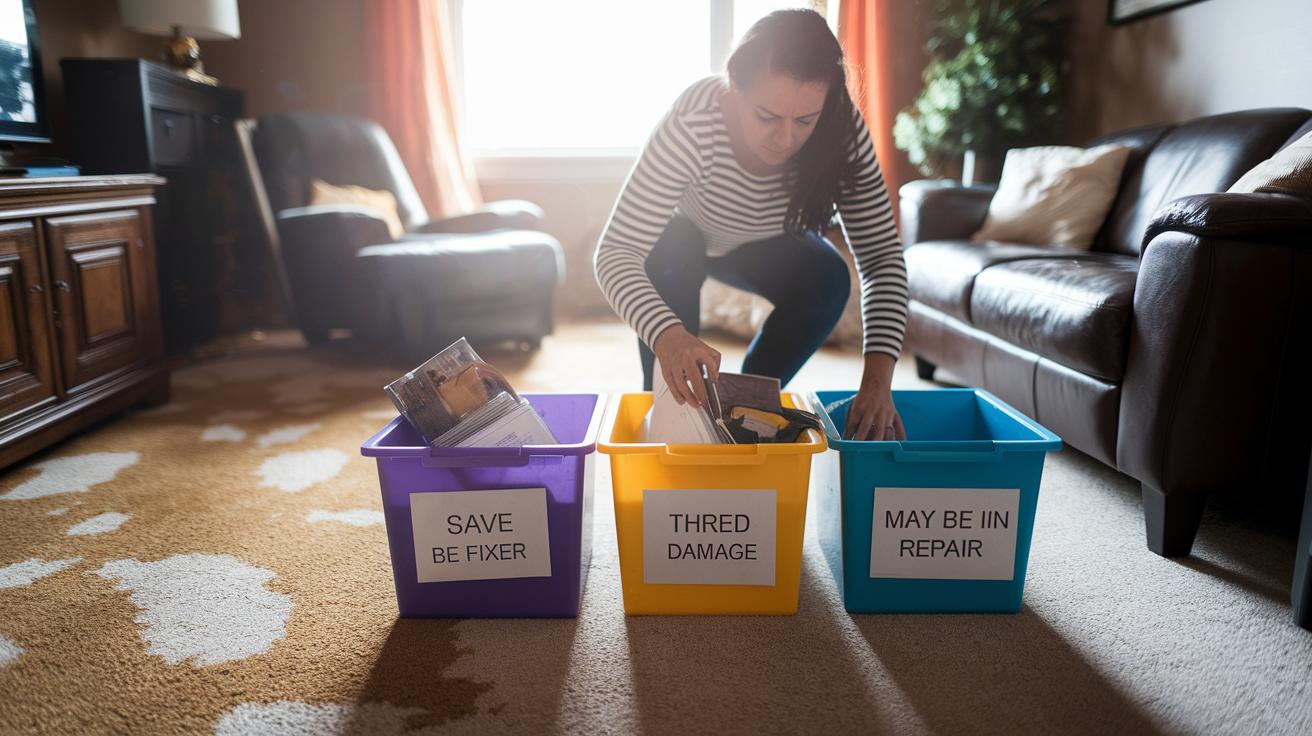
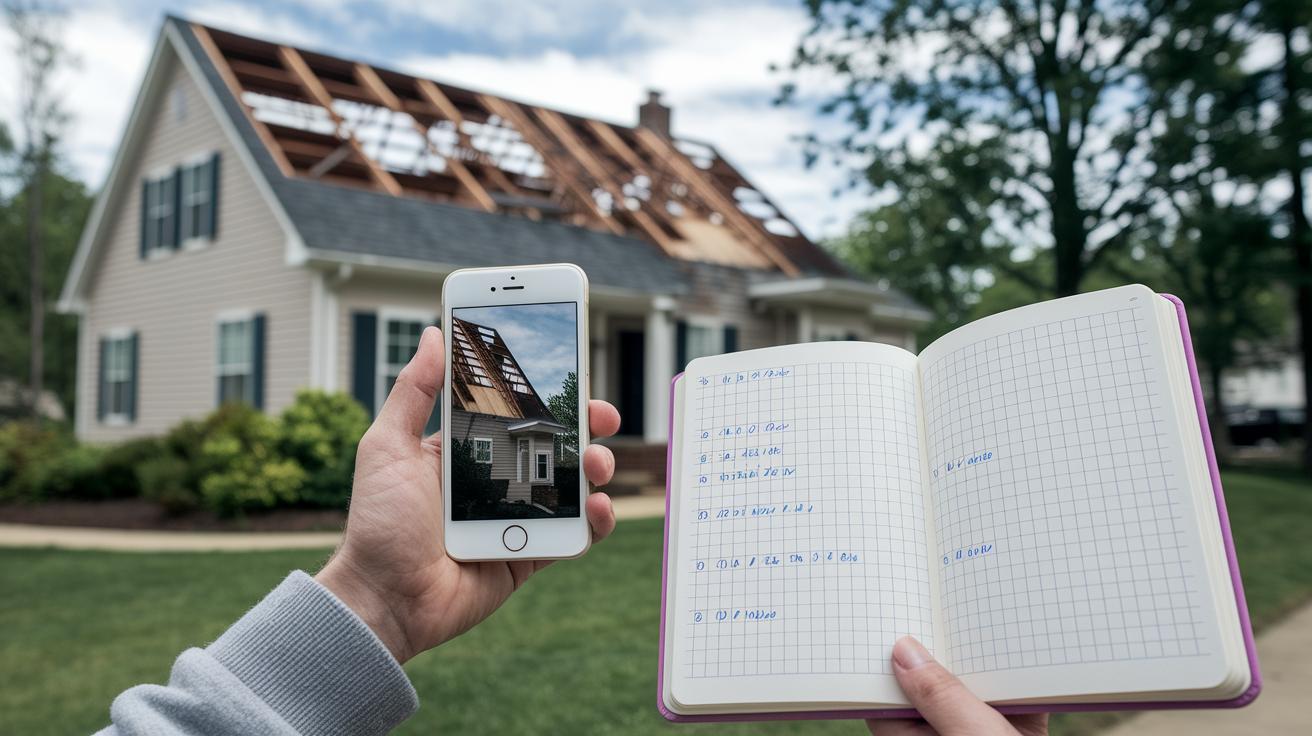
Document everything before moving or discarding anything. Photograph all damage from multiple angles, keeping digital file sizes at a maximum of 8MB for insurance submission. Create detailed item inventories with estimated values. Don’t disturb the damage scene until professional assessment is complete. Moving or throwing away damaged wood before documentation can impact your insurance claim and your ability to recover costs.
Fire duration and heat exposure levels determine whether wood maintains structural integrity for restoration versus replacement. The structural engineer’s test results, combined with wood species and quality considerations, form the basis of your restoration versus replacement decision. Cost effectiveness analysis follows structural assessment. If the wood passes structural testing and restoration costs make sense compared to replacement, you can move forward with the restoration process.
Identifying Types of Fire and Smoke Damage on Wood Surfaces
Accurate damage identification determines which restoration techniques will work and which won’t. Different damage types require different approaches, and misidentifying the problem leads to wasted time and failed repairs.
Fire damage occurs in four distinct ways:
Heat damage: Warping, melted finishes, weakened joints where glue or fasteners failed under high temperatures
Smoke damage: Penetration into porous wood materials creating lasting odors that surface cleaning can’t eliminate
Soot damage: Acidic residue that permanently stains if left untreated, requiring immediate attention to prevent chemical etching
Water damage: Swelling from firefighting efforts, rust on metal fasteners, and mold risk within 24 to 48 hours after water exposure
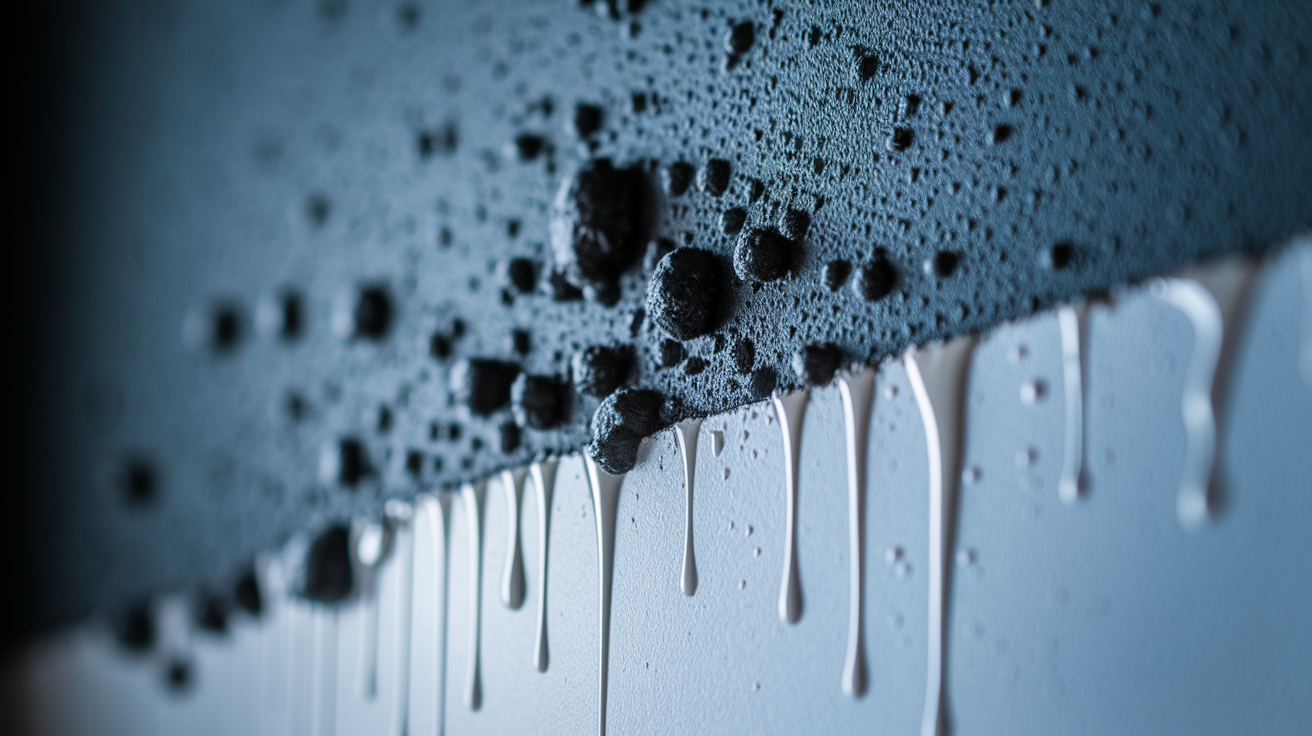
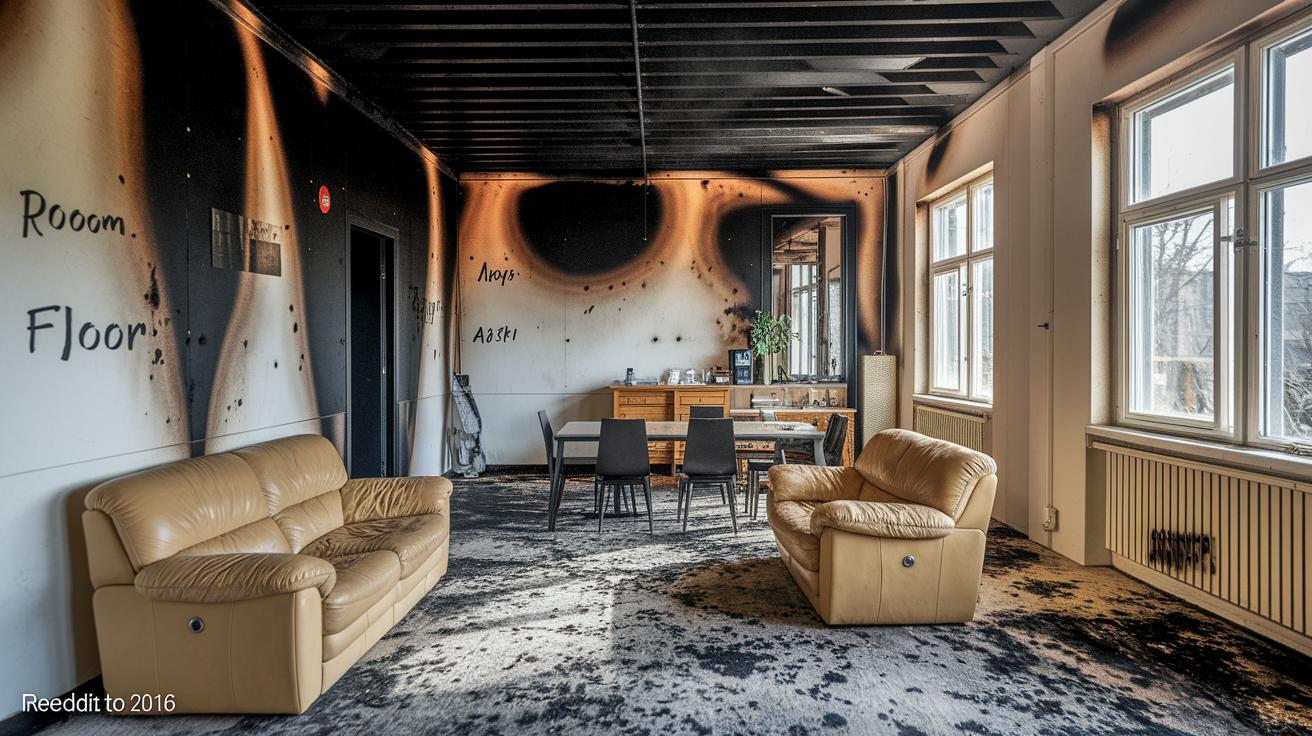
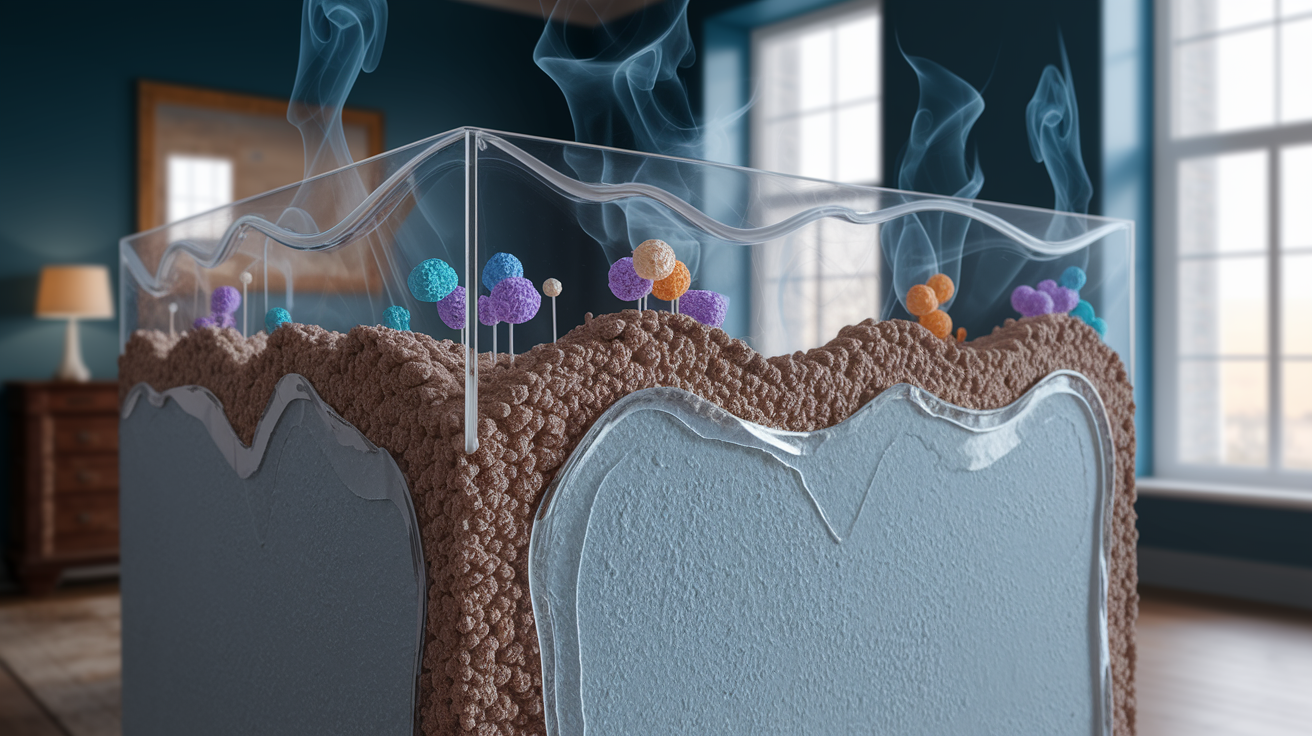
Visual differences help you categorize damage severity. Light smoke staining appears on distant wood as a surface discoloration that hasn’t penetrated deep into the grain. Darkening from smoldering occurs on closer wood where heat caused chemical changes in the wood fibers without creating char. Charred outer layers on wood near the flame source show black carbonization that must be removed before refinishing.
Fire duration and heat intensity create these different damage levels. A brief, low intensity fire might leave only smoke staining on most surfaces. Extended exposure or intense heat creates deep charring that removes material rather than just staining it. Understanding which category your damage falls into guides your restoration approach from surface cleaning to deep char removal and potential structural reinforcement.
Soot Removal Techniques for Fire Damaged Wood

Soot becomes harder to clean the longer it sits on wood surfaces, and improper wiping smears acidic soot deeper into the wood grain where it causes permanent damage. Start soot removal as soon as structural safety is confirmed and protective equipment is in place.
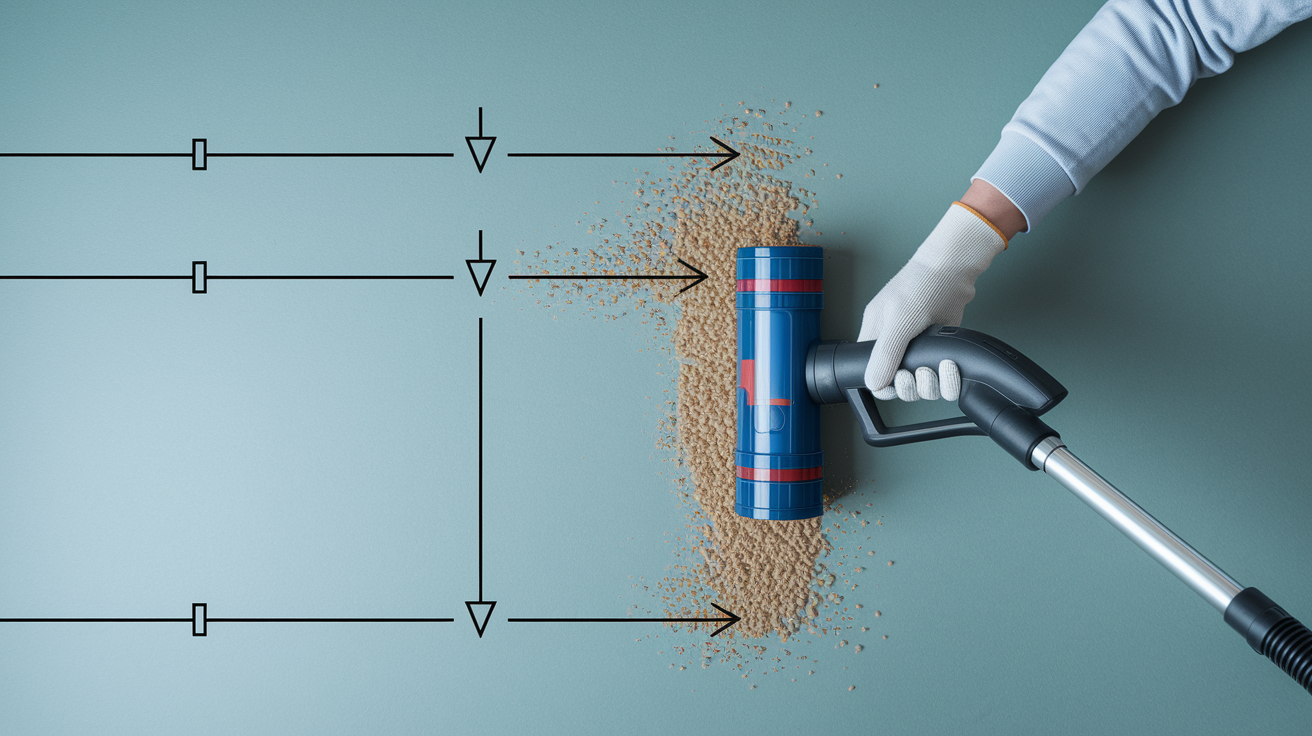
Use a HEPA filtered vacuum to remove loose soot particles first. The HEPA filter captures fine particulates without releasing them back into the air. Work slowly across the wood surface without pressing the vacuum nozzle hard against the wood. Pressing pushes soot into porous wood surfaces instead of lifting it away. This initial vacuum pass removes the majority of loose soot that would otherwise smear during wet cleaning.
After vacuuming, use a dry chemical sponge to absorb remaining soot. These sponges are specifically designed for soot absorption and work through direct contact without water or chemicals that could cause additional damage. Wipe in straight lines with the wood grain using light pressure. When one section of the sponge becomes saturated with soot, rotate to a clean section. Never rinse and reuse these sponges. The absorption method lifts soot without pushing residue deeper into the wood structure.
Professional methods handle extensive soot damage more efficiently than manual cleaning. Dry ice blasting removes soot, char, and smoke residue from fire damaged wood without using water or chemicals, working at speeds of 350 to 600 square feet per hour. The dry ice sublimates on contact, leaving no secondary cleanup. Soda blasting serves as a gentler alternative for delicate wood surfaces and simultaneously neutralizes acidic smoke residues. These professional blasting methods become necessary when soot coverage is extensive or when manual cleaning isn’t producing acceptable results.
Cleaning and Neutralizing Smoke Residue on Wood

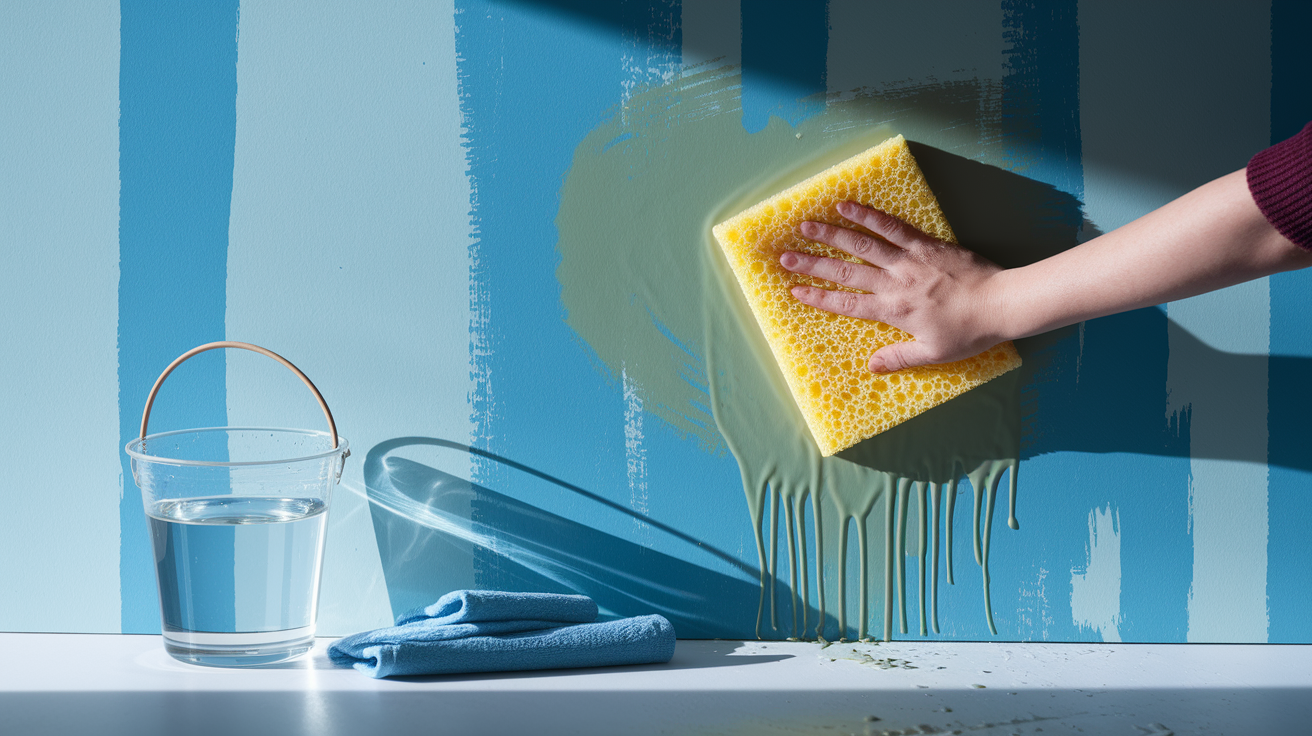
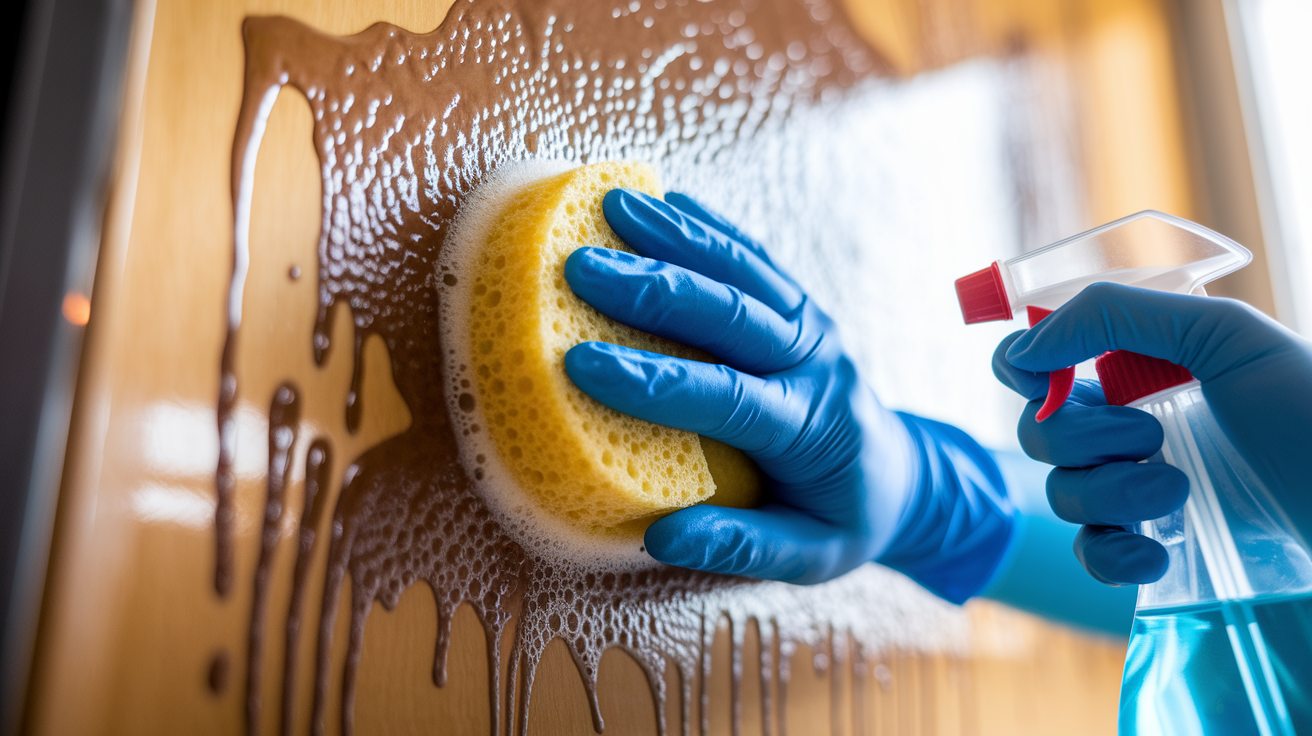
After dry soot removal, smoke residue requires wet cleaning with neutralizing agents. Mix mild soap with warm water and apply it to wood surfaces using a soft cloth or sponge. Work in small sections to avoid oversaturation that damages wood further. Wring out your cloth or sponge until it’s damp, not dripping. Wipe with the grain, then immediately dry the area with a clean towel.
For stubborn smoke residue that soap and water won’t remove, mix trisodium phosphate (TSP) as a degreasing agent. Use one half cup TSP per two gallons of warm water for standard dilution. Wear rubber gloves and eye protection when working with TSP. Apply the solution with a sponge, let it sit for three to five minutes without drying, then scrub gently and rinse with clean water. TSP cuts through smoke’s oily residue that mild soap can’t eliminate. Work in ventilated areas as TSP produces strong fumes.
Neutralizing acidic soot deposits prevents permanent staining and continued wood degradation. Soot contains acids that keep etching wood even after visible residue is removed. After TSP cleaning, verify pH balance by testing a small area with pH strips. Wood should test neutral (pH 7) after cleaning. If it still tests acidic, repeat the TSP treatment and rinse thoroughly.
Removing Char and Sanding Charred Wood Surfaces

Assess char depth before choosing your removal approach. Shallow char (less than one eighth inch) responds to sanding. Deeper char requires more aggressive removal methods before sanding becomes effective.
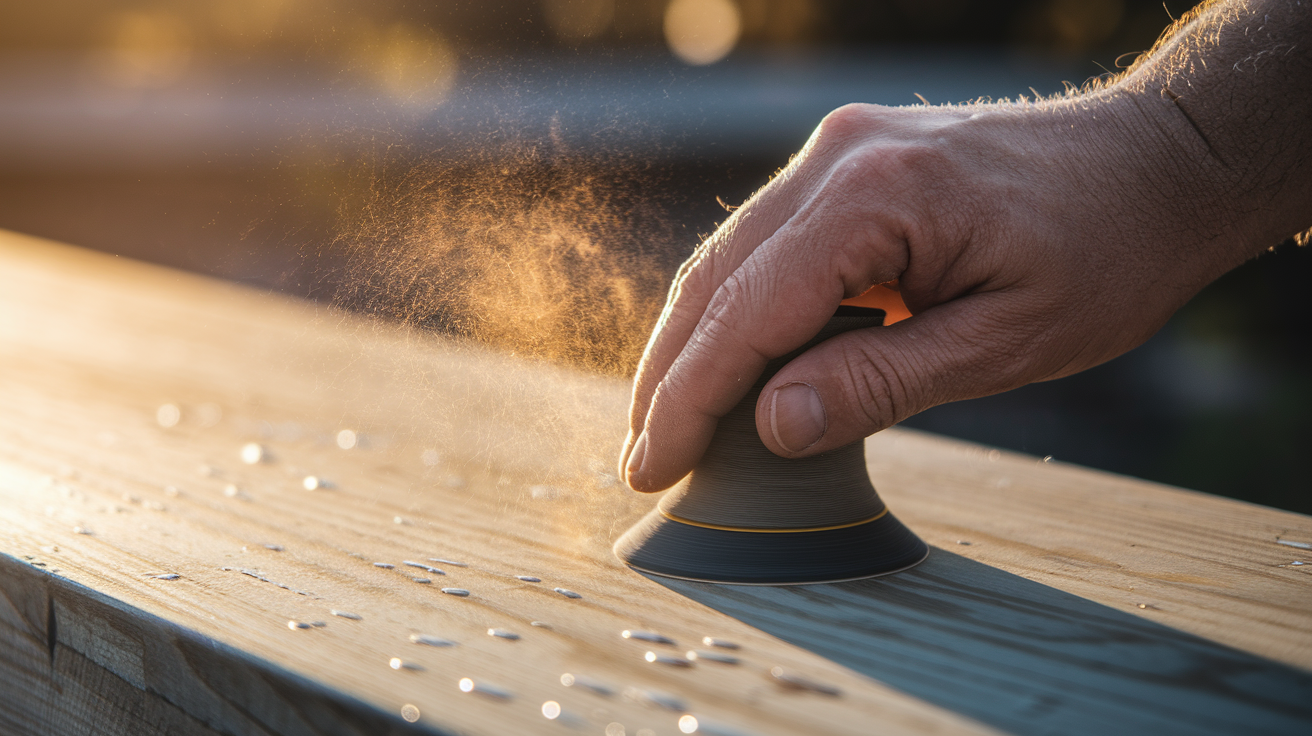
Remove loose charred material with a wire brush or scraper, working with the wood grain to avoid creating cross grain scratches that show through final finishes. Apply chemical stripper if char penetrates deeper than one eighth inch, following manufacturer’s instructions for application thickness and dwell time, typically 15 to 30 minutes. Sand progressively from coarse to fine grit starting at 60 grit to remove char, moving to 80 grit for smoothing, then 120 grit for surface preparation, and finishing with 220 grit before staining. Inspect for remaining char in wood grain by wiping the surface with mineral spirits, which darkens remaining char and makes it visible. Final surface preparation cleaning with tack cloth removes all sanding dust that would interfere with stain and finish adhesion.
Professional media blasting removes char at 350 to 600 square feet per hour for extensive damage. Sponge Media blasting treats the full range from light smoke damage to heavy charring without the manual labor of sanding. This method works on wood beams, structural timbers, and large surface areas where manual sanding becomes impractical. The media removes char layer by layer without damaging underlying wood structure, making it ideal for antique or historically significant pieces where preserving maximum original material matters.
Eliminating Smoke Odor from Fire Damaged Wood

Smoke penetrates porous wood materials and creates lasting odors because microscopic smoke particles lodge deep in the wood grain where surface cleaning can’t reach them. The wood structure acts like a sponge, absorbing smoke compounds that continue releasing odor for months or years after cleaning.
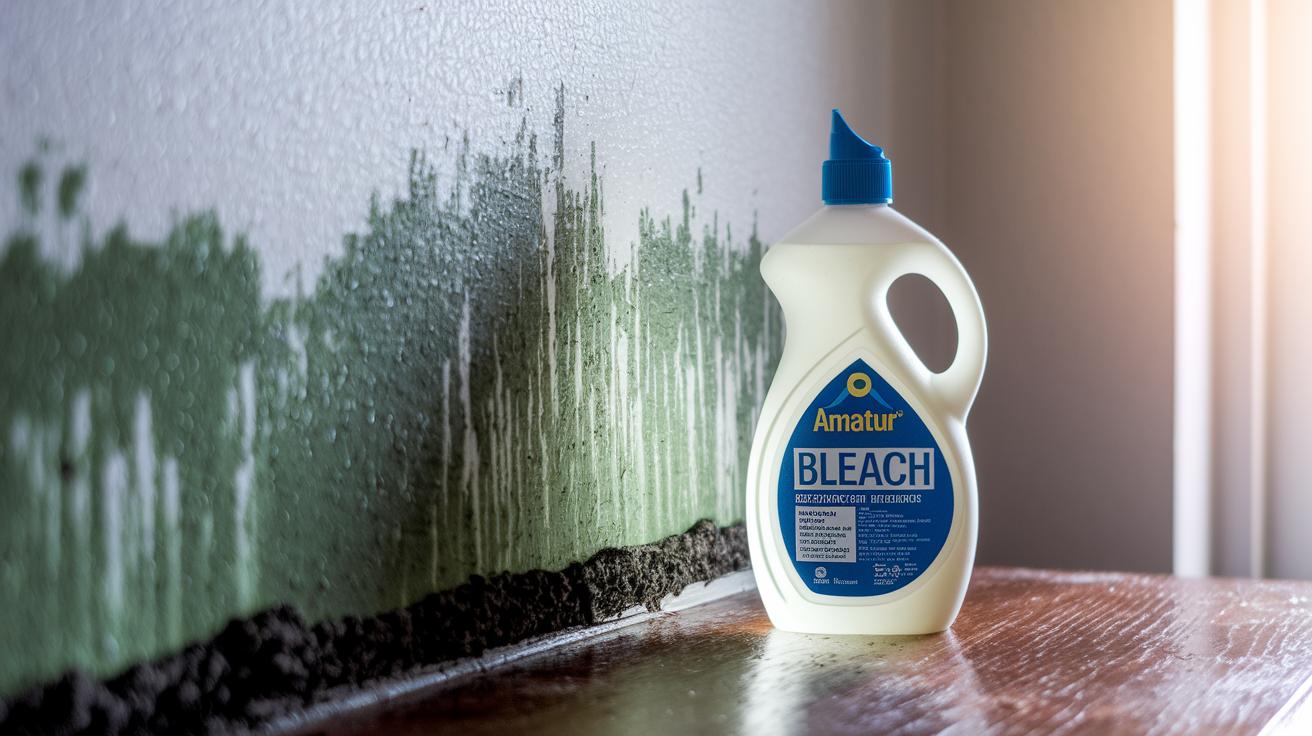
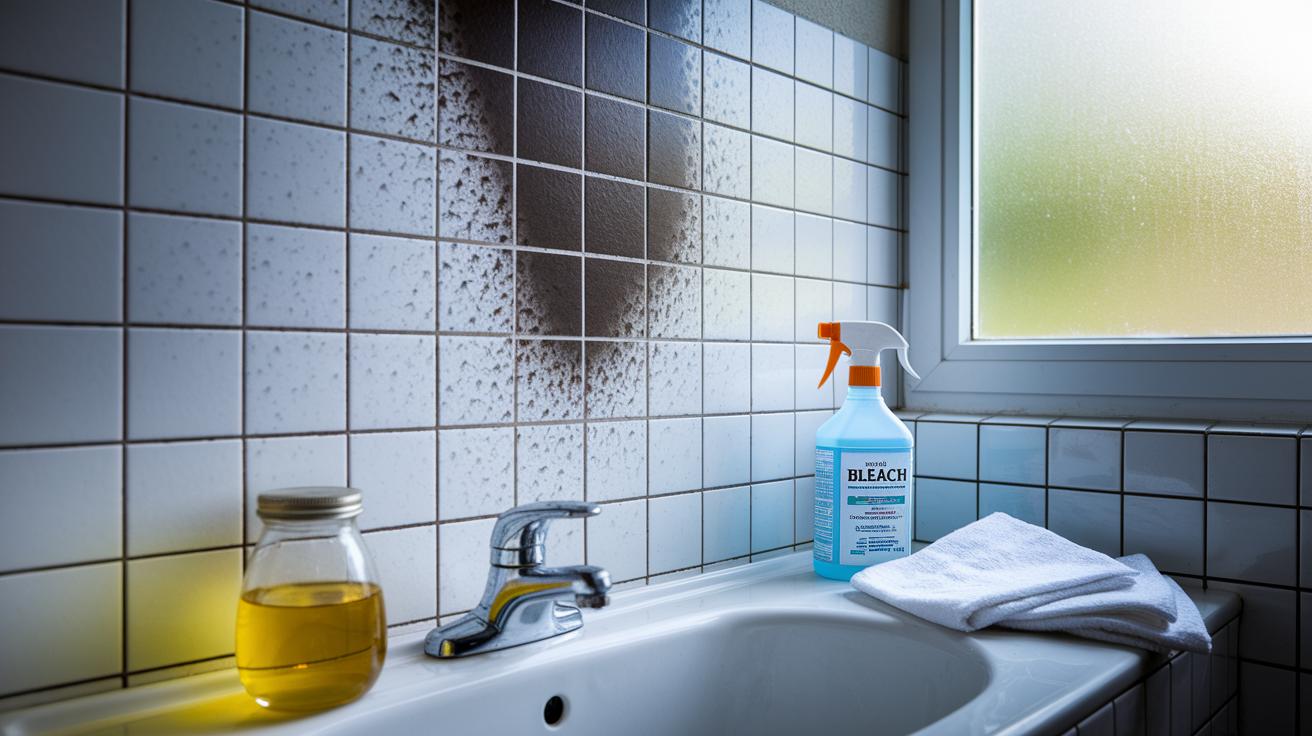
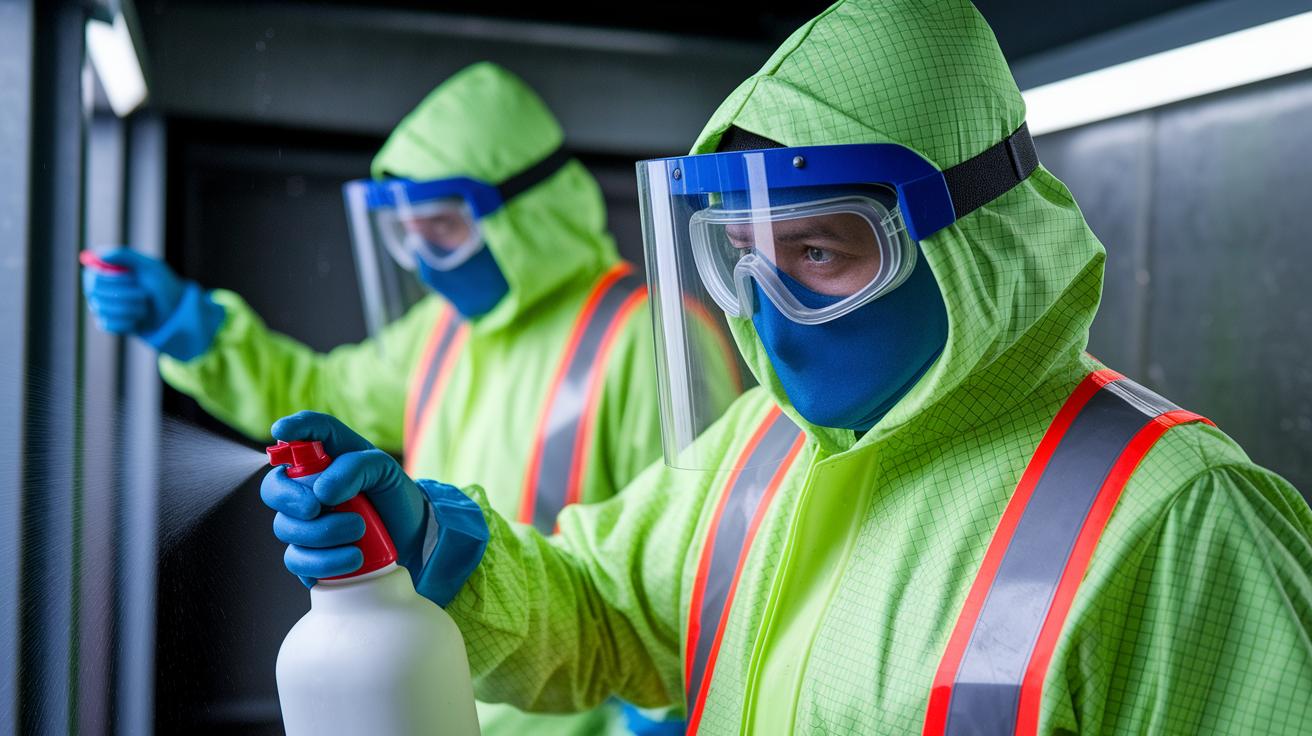
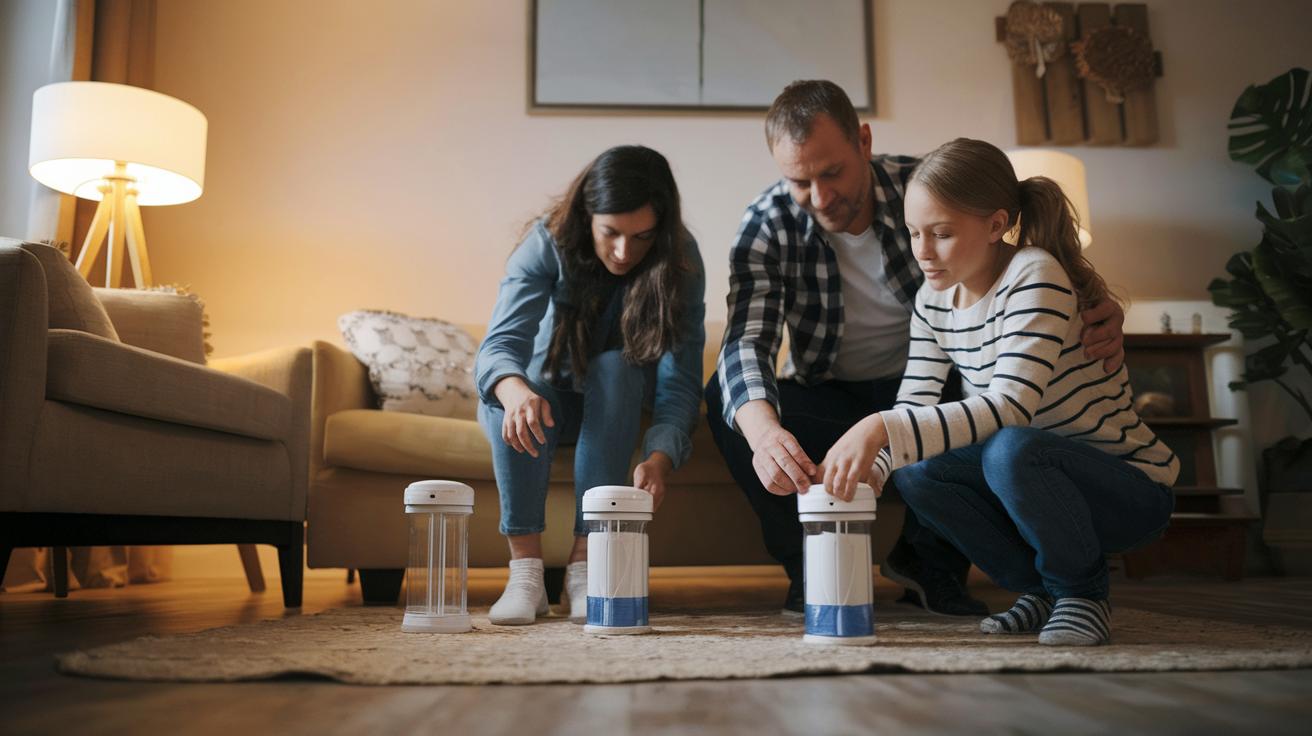
DIY deodorizing approaches work for minor smoke exposure. Wood bleach removes both odor and discoloration by breaking down smoke compounds chemically. Mix oxalic acid wood bleach according to package directions and apply it to affected wood. Let it work for the specified time, then neutralize with a baking soda and water solution. Vinegar solutions (one part white vinegar to one part water) work on light smoke odor. Baking soda absorption involves placing open containers of baking soda near affected wood and replacing them weekly. Proper ventilation during drying accelerates odor dissipation. These methods require patience and work best when smoke exposure was limited.
Ozone treatment breaks down odor molecules at the molecular level. Ozone generators produce O3 (ozone) which reacts with smoke compounds and neutralizes them chemically rather than masking them. Run ozone generators in sealed spaces with the wood present but no people or pets, as ozone at treatment concentrations is hazardous to breathe. Treatment duration depends on odor severity, typically running 24 to 48 hours for moderate smoke odor. After treatment, ventilate the space for several hours before reoccupying. The wood must be completely dry before ozone treatment, or trapped moisture prevents ozone from reaching embedded smoke particles.
Thermal fogging mimics smoke penetration patterns to reach embedded odor particles. A thermal fogger heats deodorizing chemicals until they create a fog with particle sizes similar to smoke. This fog follows the same paths smoke took into the wood grain and deposits odor neutralizing compounds in those spaces. The process requires sealing the treatment area and typically runs for several hours. Activated charcoal and air scrubber systems provide continuous removal of airborne smoke particles during the restoration process. Air scrubbers pull air through HEPA and activated carbon filters, capturing particulates and absorbing odor compounds. These systems run continuously throughout restoration work, preventing smoke smell from recontaminating cleaned areas.
Repairing Structural Wood Fire Damage with Epoxy and Fillers

Identify structural damage by examining joints for looseness, checking for warping that prevents proper fit, looking for cracks or splits from heat stress, and feeling for soft spots where fire weakened the wood structure. Heat warps wood, melts finishes, and weakens joints where glue failed. Firefighting water compounds the problem by causing additional swelling.
Select epoxy wood filler rated for structural repairs, not cosmetic wood putty. Two part epoxies provide the strength needed for load bearing repairs. Mix the resin and hardener according to the manufacturer’s ratio, working in small batches as epoxy begins setting within 5 to 10 minutes. Apply epoxy to gaps and voids using a putty knife, overfilling slightly to allow for sanding. Press the epoxy firmly into voids to eliminate air pockets that create weak spots. Curing times range from 4 to 24 hours depending on temperature and epoxy type. Once cured, sand the epoxy smooth and flush with surrounding wood using 80 grit sandpaper, progressing to 120 grit for final smoothing.
Joint reinforcement addresses heat weakened connections between wood pieces. Remove failed glue by scraping or light sanding. Apply fresh wood glue to cleaned joint surfaces. For severely weakened joints, add reinforcement through metal brackets installed on hidden surfaces, screws or dowels drilled through the joint for mechanical strength, or corner blocks glued and screwed into place on furniture frames. Clamp repaired joints for the full glue cure time, typically 24 hours, wiping away excess glue squeeze out before it dries.
Address minor warping through clamping during drying, placing weights on warped areas while wood returns to stable moisture content, or controlled moisture reintroduction on the concave side of the warp. Severe warping usually requires replacement rather than correction. Water Damage Restoration Services can address firefighting water issues that compound fire damage through additional swelling and potential mold growth.
Drying Fire Damaged Wood and Preventing Mold Growth

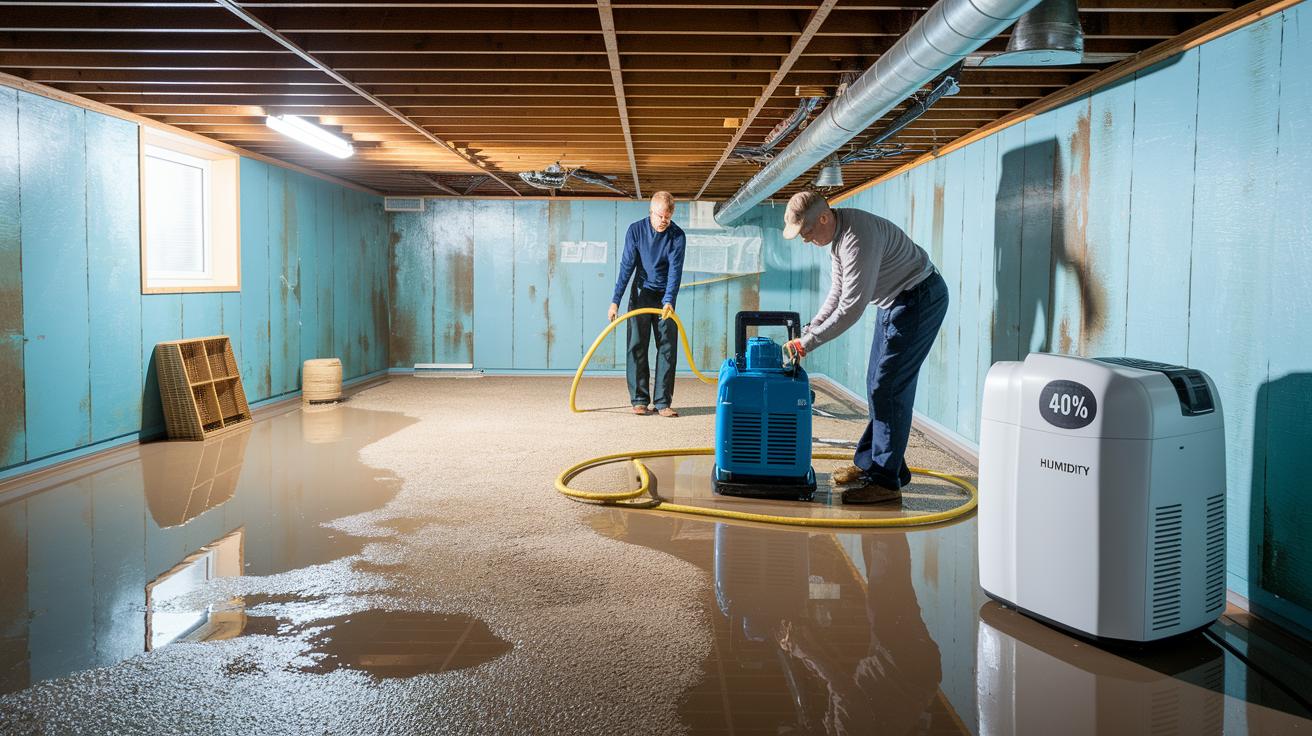
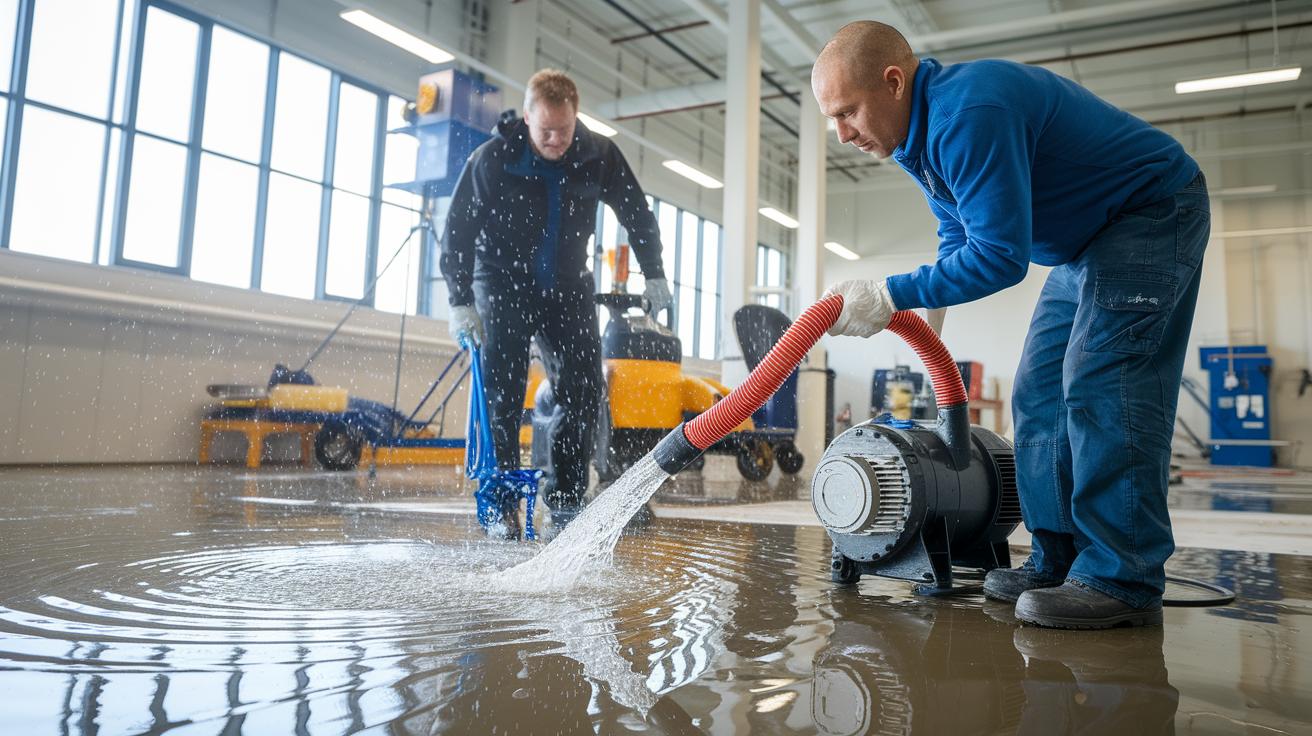
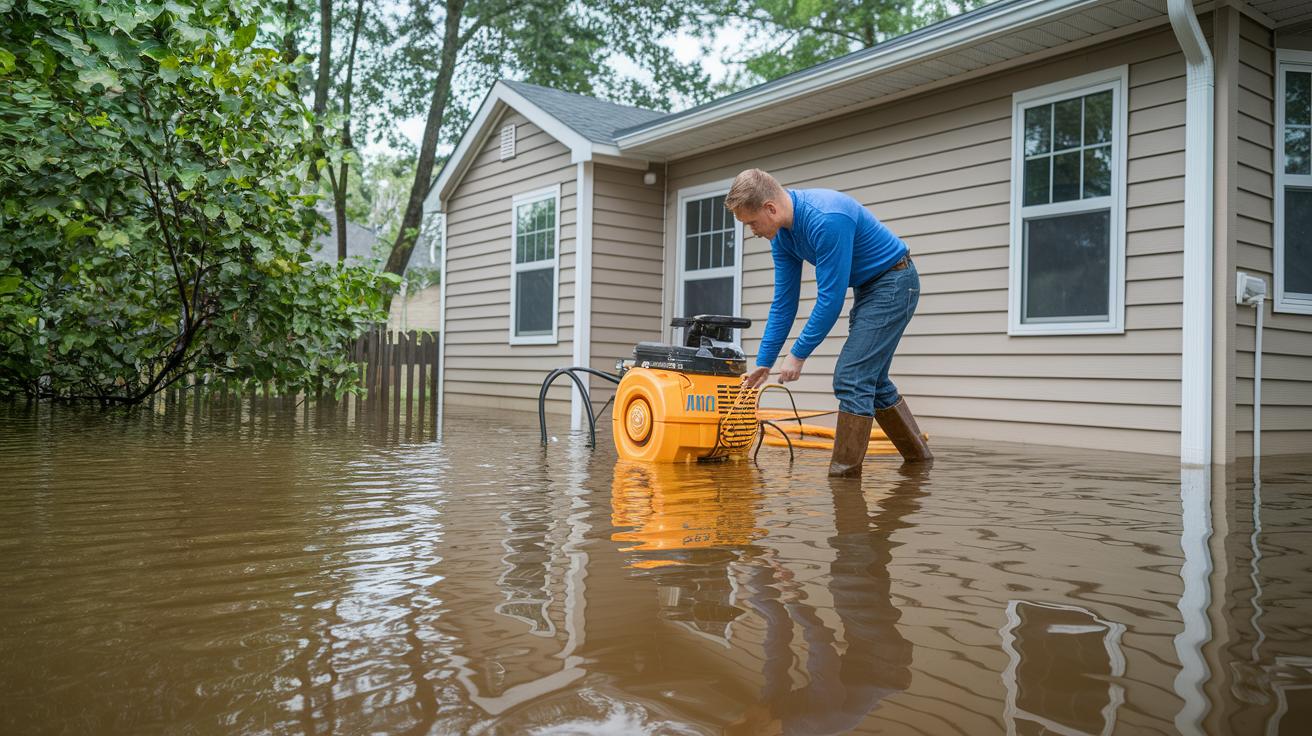
Mold begins forming within 24 to 48 hours after water exposure from firefighting efforts. This critical window demands immediate drying action to prevent biological growth that complicates fire damage restoration and creates health hazards.
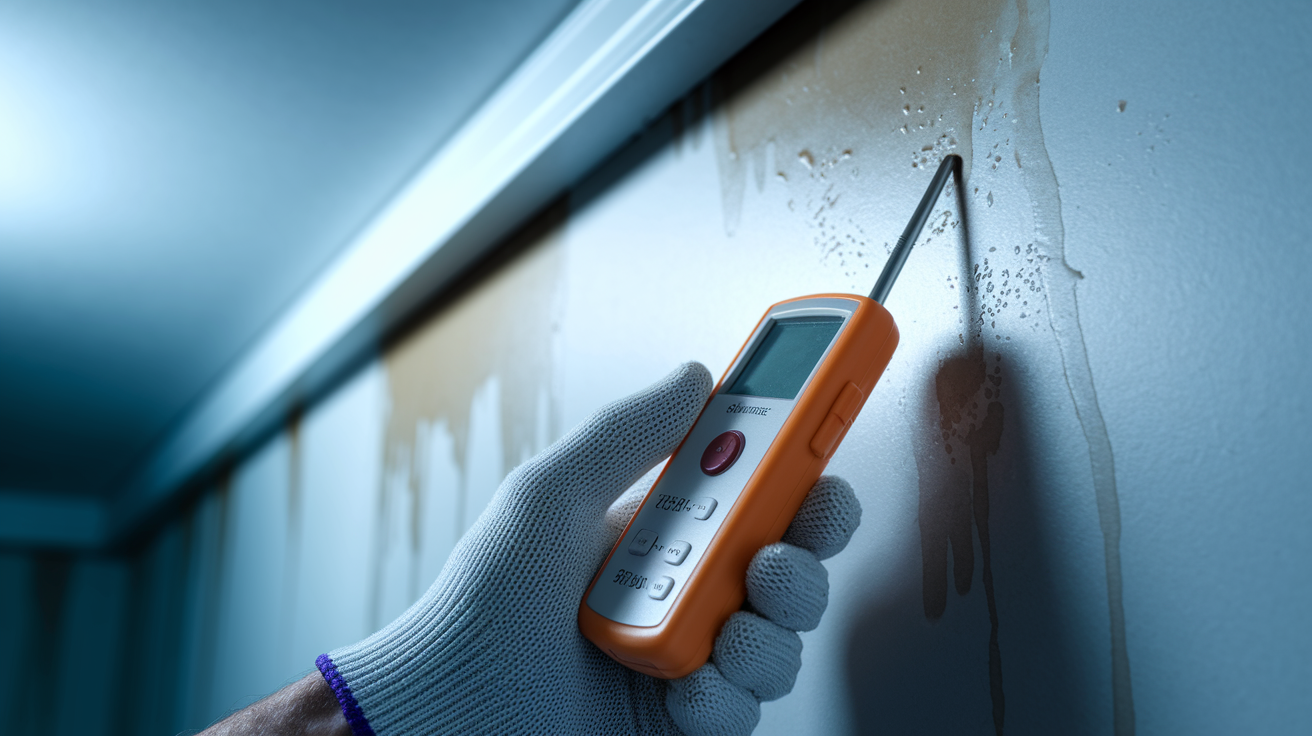
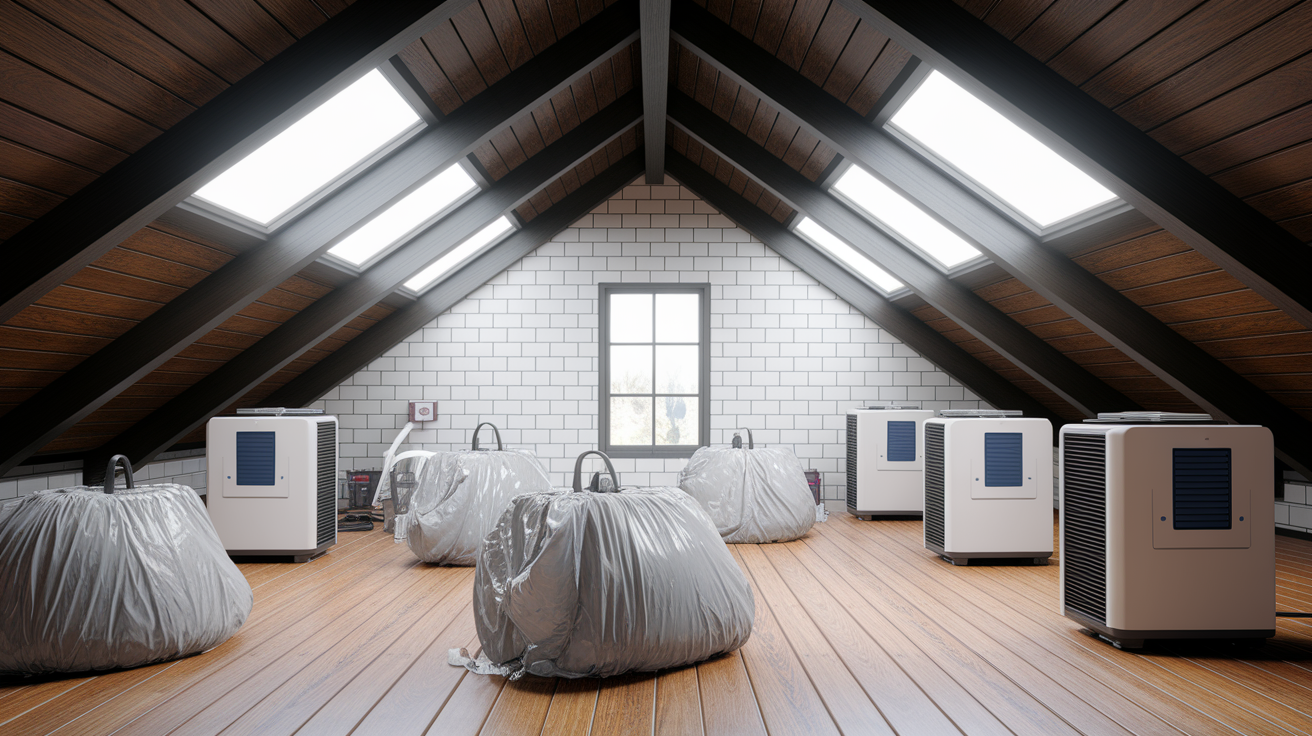
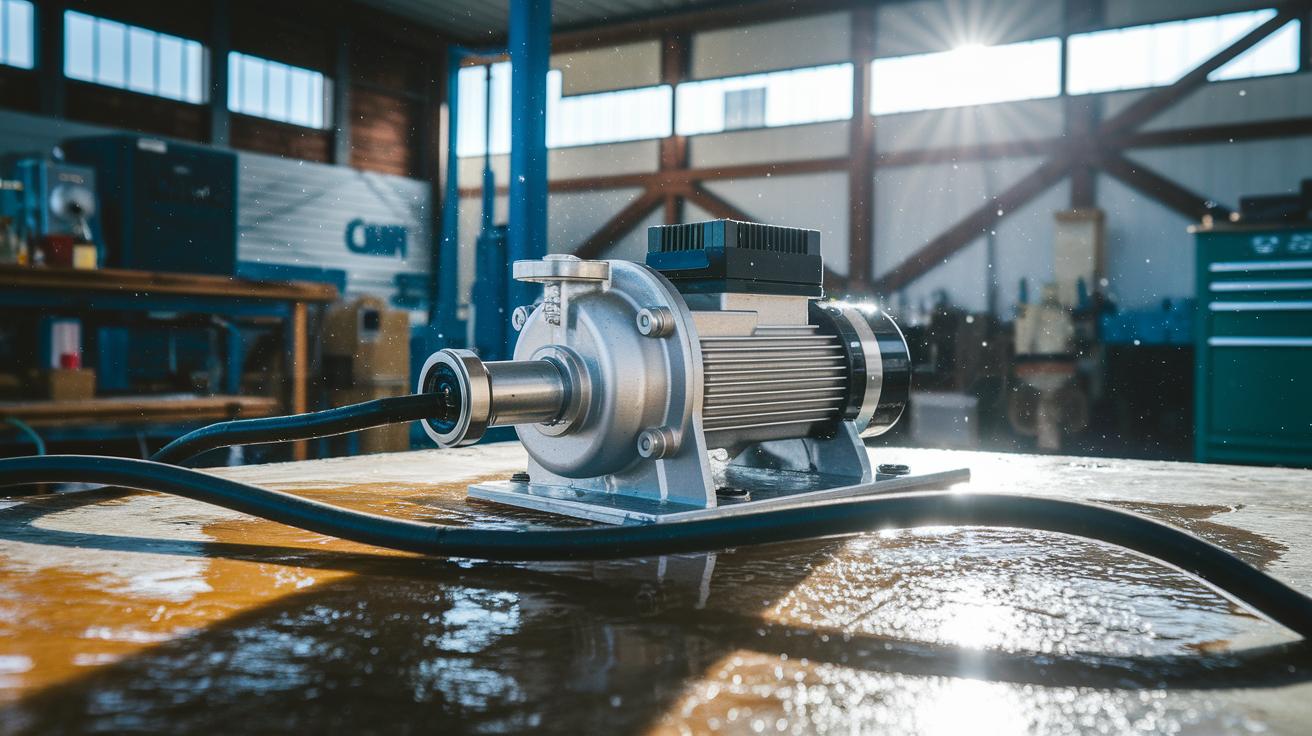
Position industrial dehumidifiers in the affected space to extract moisture from the air continuously. Dehumidifiers work by condensing water vapor, which lowers relative humidity and allows wet wood to release moisture faster. Place air movers to create circulation that moves moist air away from wet wood surfaces toward the dehumidifier intake. Position air movers at angles that direct airflow across wood surfaces rather than directly at them, which prevents surface drying while moisture remains trapped inside. Run dehumidifiers and air movers continuously until moisture meters confirm drying is complete. Empty dehumidifier collection tanks or connect continuous drain hoses to maintain uninterrupted operation.
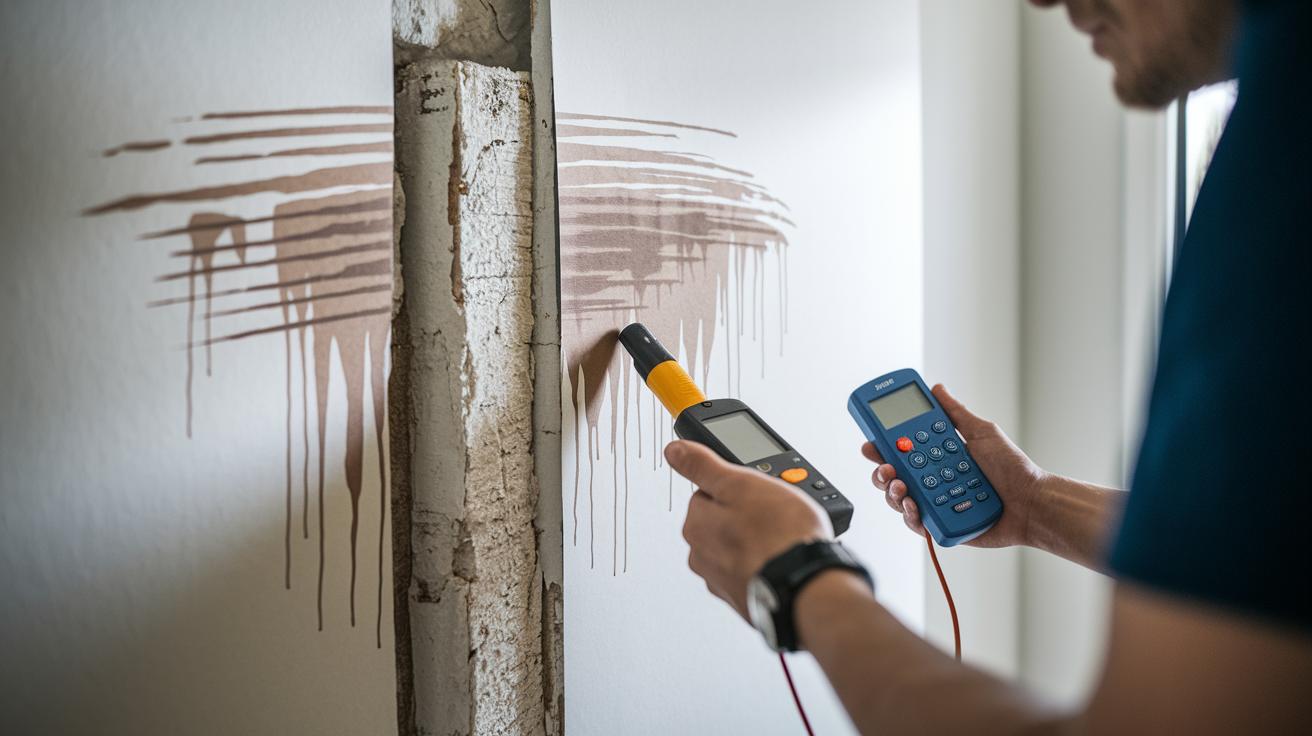
Use moisture meters to verify complete drying before sealing or refinishing wood. Pin type moisture meters measure moisture content by driving pins into wood and measuring electrical resistance between them. Pinless meters use electromagnetic sensors that don’t damage wood surfaces. Most wood species should reach 6 to 8 percent moisture content for interior applications and 9 to 14 percent for exterior applications before proceeding with finishing. Take multiple readings across affected areas, including areas that look dry, as moisture often remains trapped in thicker sections or near joints while surfaces appear dry.
Monitor humidity levels during the restoration process and watch for signs of bacterial growth including discoloration, soft spots, or musty odors that indicate biological activity. Extended drying periods in warm conditions risk bacterial growth even when visible mold hasn’t appeared. If signs of biological growth appear, address them immediately before continuing restoration work.
Surface Preparation Before Refinishing Fire Damaged Wood
Final sanding creates the smooth surface needed for proper finish adhesion. Sand with 120 grit sandpaper to remove minor imperfections and create uniform texture. Then dampen the wood surface with a wet cloth to raise the grain. This process lifts wood fibers that will stand up when wet finishes are applied. Let the wood dry completely, then sand again with 120 grit to remove the raised grain. This final sanding after grain raising eliminates the rough texture that otherwise appears when stain or finish is applied.
Remove compromised old paint and varnish layers that fire damaged. Chemical strippers work faster than sanding for thick finish buildup. Apply stripper according to manufacturer’s directions, typically letting it work for 15 to 30 minutes until the finish bubbles and lifts. Scrape away softened finish with a plastic scraper to avoid gouging wood. Heat methods using a heat gun also soften old finishes for scraping but require care to avoid scorching wood that already suffered fire damage. Distinguish between salvageable finishes (stable, well adhered, not discolored by smoke) and damaged finishes that must be completely removed. Partial finish removal that leaves thin, stable finish in good condition can work if new finish is compatible.
Apply wood conditioner to ensure even stain absorption, especially on fire damaged wood where heat altered wood porosity. Wood conditioner partially seals wood fibers so stain penetrates uniformly rather than blotching. This matters most on pine, fir, and other softwoods prone to uneven stain absorption. Apply conditioner with a brush or cloth, let it penetrate for 10 to 15 minutes, then wipe away excess. Stain within two hours of conditioning for best results. Address smoke stained areas with wood bleach if discoloration remains after sanding and chemical cleaning. Apply bleach, let it work, then neutralize and sand before conditioning and staining for uniform finish appearance.
Priming and Sealing Restored Fire Damaged Wood

Sealing locks out moisture and prevents smoke odors from bleeding through final finishes. Proper sealing protects restoration work and ensures long term stability of repaired wood.
| Sealer Type |
Best For |
Application Method |
| Penetrating Sealer |
Deeply damaged wood needing internal protection |
Flood surface, let penetrate 10-15 minutes, wipe excess |
| Shellac-Based Primer |
Blocking smoke stains and odors |
Brush or spray thin coats, sand between coats |
| Stain-Blocking Primer |
Wood with visible smoke discoloration |
Roll or brush, two coats for heavy staining |
| Fire Retardant Coating |
Enhanced protection in restored areas |
Multiple thin coats per manufacturer specifications |
Apply penetrating sealer to deeply damaged wood that needs internal moisture protection and odor encapsulation. These sealers soak into wood structure rather than forming a surface film. They work best on bare wood before staining. Pour or brush sealer onto the wood surface generously, then let it penetrate for 10 to 15 minutes. Wipe away excess that hasn’t absorbed. Some penetrating sealers require a second application after the first coat dries, as the first coat opens wood pores and the second coat seals them.
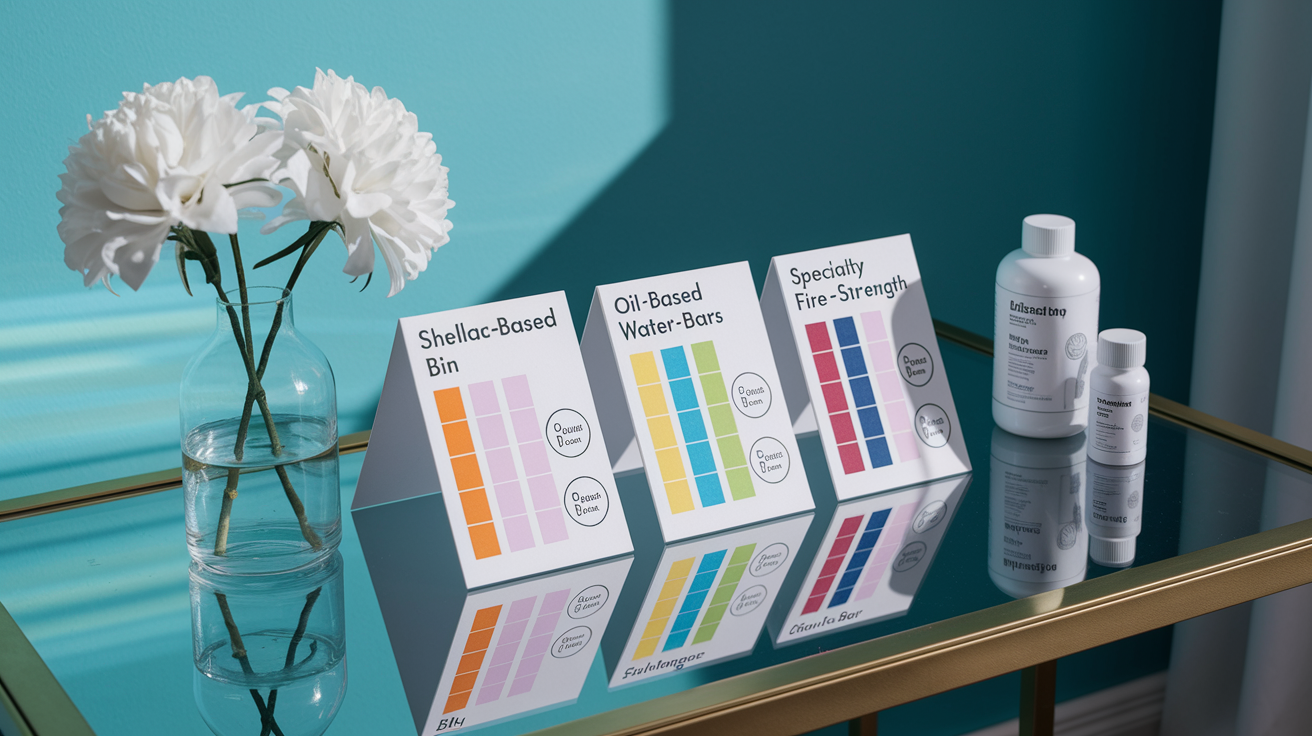
Use shellac based primer to block smoke stains and odors from bleeding through final finish coats. Shellac primers like BIN create an effective barrier between contaminated wood and fresh finishes. Apply thin coats with a brush or spray equipment. Shellac dries in 30 to 45 minutes, allowing quick recoating. Sand lightly between coats with 220 grit sandpaper for proper adhesion. Two coats of shellac primer provide reliable odor blocking for most smoke damaged wood.
Fire retardant treatment adds enhanced protection to restored areas, making sense when fire originated from electrical issues, heating equipment, or other sources that might cause future fire exposure. These coatings form an intumescent (expanding) layer when exposed to heat, which insulates wood and slows fire spread. Application requirements vary by product but typically involve multiple thin coats applied according to specific dry times. Follow manufacturer specifications exactly, as improper application reduces fire protection effectiveness.
Staining and Refinishing Techniques for Fire Damaged Wood
Color matching matters when you’re blending repaired wood with undamaged surrounding areas. Mismatched repairs stand out and look unfinished, reducing the value of all the restoration work that preceded refinishing.
Stain selection requires testing on inconspicuous areas or scrap pieces from the same wood species. Fire damage often alters how wood accepts stain, with heat affected wood sometimes absorbing stain differently than undamaged wood. Test your chosen stain color on a hidden spot or scrap piece that experienced similar fire damage. Let it dry completely to see the true color, as wet stain looks darker. Adjust stain darkness through dilution with compatible thinner or by applying multiple coats to build depth gradually. Consider wood species when selecting stains, as oak accepts stain differently than pine, and fire damaged characteristics vary by species.
Apply stain using a brush, working with the wood grain to avoid cross grain marks. Maintain a wet edge by working quickly enough that each brush stroke blends into the previous one before it dries. Use even pressure throughout each stroke. After brushing stain onto wood, wait the manufacturer’s specified time (typically 5 to 15 minutes), then wipe away excess with clean rags, again working with the grain. How long you leave stain on the wood before wiping controls color intensity. Longer dwell times create darker colors. Allow each stain coat to dry completely (usually 4 to 6 hours minimum) before applying additional coats.
Topcoat options include polyurethane (most durable for floors and furniture), varnish (traditional choice with amber tone), and oil based versus water based products based on wood location and use. Oil based topcoats provide deeper color enhancement and longer working time but require longer drying and produce stronger odors. Water based topcoats dry faster, produce less odor, and stay clearer over time without yellowing. Choose based on project requirements. Apply topcoats with brush or foam applicator in thin, even coats. Sand lightly between coats with 220 grit sandpaper. Three coats of topcoat provide adequate protection for most applications.
Apply final polish to enhance wood appearance and add a protective layer after topcoat cures. Paste wax or furniture polish brings out depth and provides a smooth surface. Buff with a soft cloth using circular motions, then finish by buffing with the grain for professional appearance.
Essential Materials and Products for Fire Damaged Wood Restoration
Fire damaged wood requires specific products designed for fire damage rather than general wood repair products. Standard wood cleaners and finishes don’t address acidic soot, embedded smoke odor, or char removal requirements.
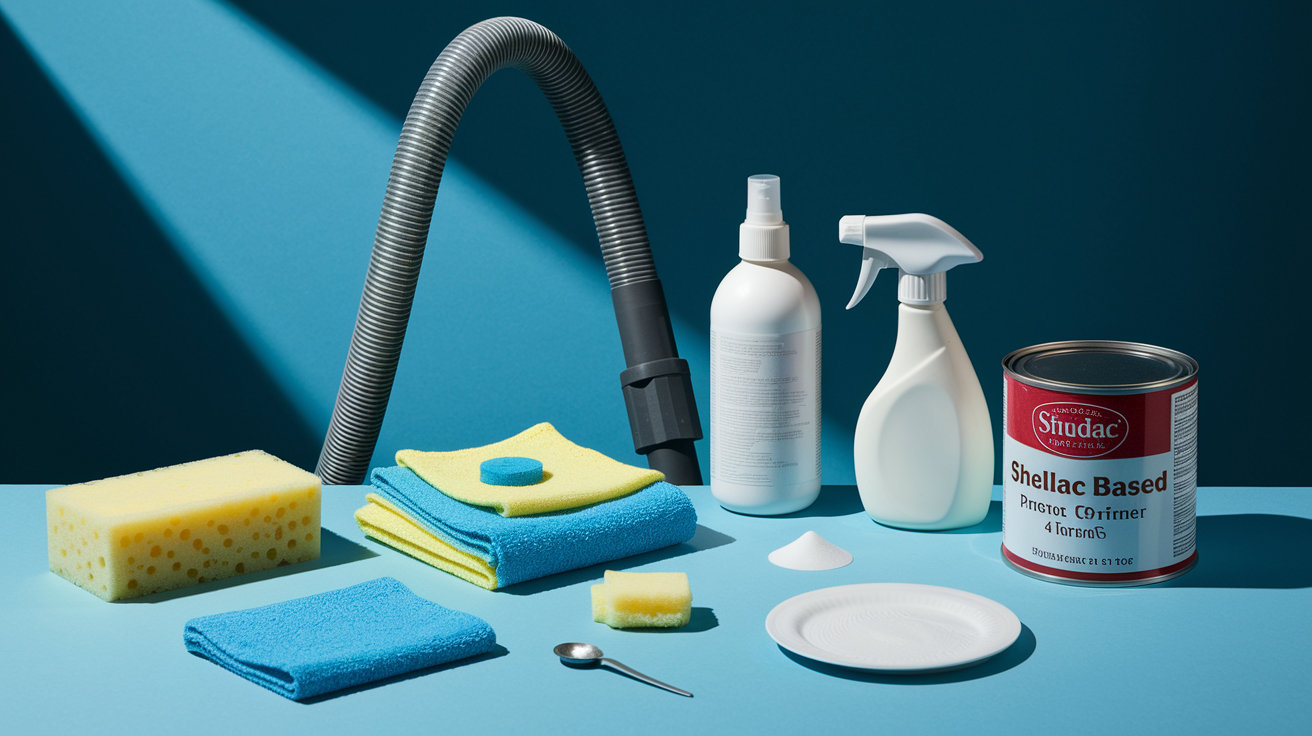
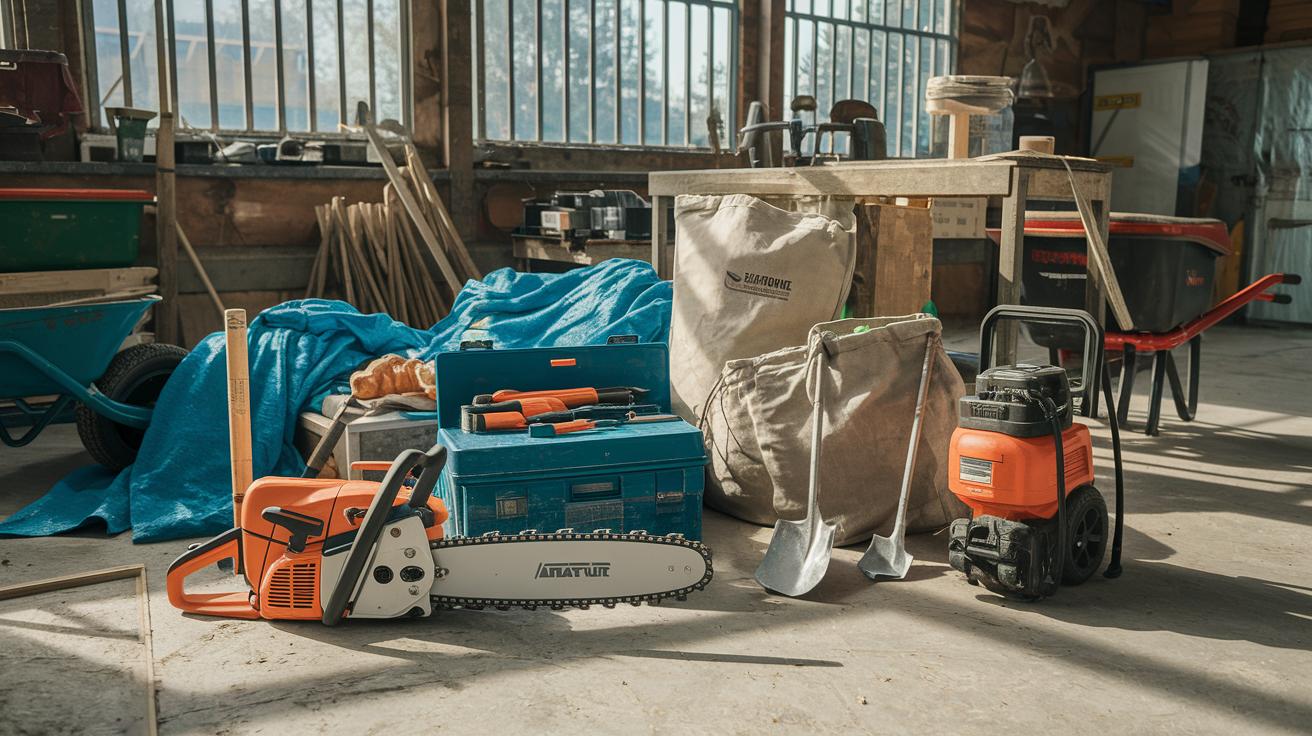
Essential restoration materials and equipment include HEPA filtered vacuum for safe soot removal without releasing particles back into air, dry chemical sponges specifically designed for soot absorption, trisodium phosphate (TSP) as degreasing agent for oily smoke residue, wood bleach (oxalic acid type) for odor and stain treatment, two part epoxy wood filler rated for structural repairs, shellac based primer (BIN or similar) for odor blocking, appropriate stains (oil based for darker tones and traditional look, water based for faster drying and clarity), polyurethane or protective topcoats matching project use, consumer grade moisture meters (pin type or pinless) for monitoring drying, sanders including orbital for flat surfaces and detail sanders for moldings, wire brushes and scrapers for char removal, and commercial dehumidifiers and air movers for moderate damage drying.
DIY accessible materials and basic equipment handle minor to moderate damage effectively. Invest in professional grade products like quality moisture meters (around $100 to $300) and commercial grade dehumidifiers (rentals typically $50 to $100 per day) when damage extends beyond small areas. Equipment rental makes sense for medium scale projects since purchasing professional equipment costs thousands. Rent rather than buy unless you anticipate repeated use or you’re restoring a large property over an extended period.
Professional only equipment becomes necessary for extensive damage. Media blasting systems including Sponge Media (removes char at 350 to 600 square feet per hour), dry ice blasting, and soda blasting require specialized equipment costing $20,000 to $100,000 that homeowners can’t practically purchase or operate. Ozone generators for odor treatment at industrial concentrations require training for safe operation. Thermal foggers for deep odor neutralization use heated chemicals that demand professional handling. Industrial moisture extraction systems including truck mounted units extract water faster and more thoroughly than consumer equipment. Commercial air scrubbers with HEPA and activated carbon filtration unavailable in consumer models run continuously during major restoration. Professional equipment and expertise become necessary when damage covers more than 200 to 300 square feet, when char penetrates deeply, when smoke odor persists after initial cleaning, or when mold has begun growing from water damage.
Cost Estimation and Budget Planning for Wood Fire Damage Restoration
Restoration costs vary based on damage severity, wood type, square footage affected, and labor rates in your region. Understanding typical cost ranges helps with budget planning and restoration versus replacement decisions.
| Damage Level |
Typical Cost Range |
Timeline |
DIY Feasible? |
| Minor surface damage (light soot/smoke) |
$500 – $2,000 |
2-4 days |
Yes |
| Moderate smoke/soot damage |
$2,000 – $8,000 |
1-2 weeks |
Possible with equipment rental |
| Extensive char damage |
$8,000 – $25,000 |
2-4 weeks |
No |
| Structural compromise requiring repairs |
$15,000 – $50,000+ |
4-8 weeks |
No |
Cost factors include square footage affected (larger areas cost proportionally more), damage severity (char removal costs more than soot cleaning), wood type with hardwood costing more than softwood to restore and antique wood commanding premium restoration pricing, accessibility of damaged areas (ceiling beams cost more than floor boards due to scaffolding requirements), and regional labor rates that vary from $50 per hour in rural areas to $125 per hour in major metropolitan areas. Material costs remain fairly consistent nationally, but labor creates the primary cost variation.
Replacement versus restoration decisions depend on multiple factors. Choose replacement when restoration costs exceed 70 to 80 percent of replacement value for standard wood. Special circumstances justify higher restoration costs: antique or historic wood preservation despite costs potentially exceeding replacement, sentimental value making restoration worthwhile regardless of economics, custom millwork that can’t be matched without expensive custom fabrication, and structural wood that remains sound after cleaning versus engineered lumber that can’t be restored. Contractor selection impacts final pricing significantly. Fire restoration specialists charge premium rates ($100 to $150 per hour) but complete work faster and produce better results than general contractors ($60 to $90 per hour) who lack specialized equipment and experience. Get three written estimates, verify each contractor carries insurance specifically covering fire damage restoration work, and check references from similar fire damage projects before committing.
Restoring Specific Wood Applications After Fire Damage
Different wood applications throughout a home present unique restoration challenges requiring tailored approaches. One technique doesn’t work for all applications.
Hardwood Floor Fire Damage Restoration
Hardwood floors present unique challenges including subflooring assessment for structural damage or moisture penetration that weakens floor systems, deciding between plank replacement for severely damaged sections versus refinishing the entire floor for uniform appearance, matching existing floor finish including stain color and sheen level, and addressing water damage to underlayment from firefighting that creates squeaks or soft spots. Sand heavily damaged areas first to determine if wood thickness allows sufficient removal of char and staining. Some floors with thin wear layers can’t withstand aggressive sanding. Screen and recoat works for light smoke damage, while full sanding and refinishing becomes necessary for moderate to severe damage. Replace individual boards when damage penetrates too deeply for sanding, cutting out damaged sections and weaving in new boards, then sanding the entire floor for consistent appearance.
Cabinet and Furniture Fire Damage Repair
Furniture specific restoration includes repairing joints on heat weakened connections where glue failed or wood split from thermal stress, realigning drawers and doors after warping creates binding or gaps, matching existing stains and finishes on partial repairs so restored sections blend invisibly, and determining when reupholstery or complete refinishing becomes necessary versus spot repairs. Heat weakened joints require complete disassembly, cleaning of old glue, fresh glue application, and clamping during cure. Warped doors often need replacement as correcting severe warping in thin cabinet doors proves difficult. Steam can relieve minor warping in solid wood, but engineered cabinet components don’t respond to moisture correction.
Structural Beam and Framing Restoration
Beam restoration in place without removing them from structures saves significant cost and disruption. This requires proper load bearing assessment by structural engineers who verify beams retain adequate strength after fire damage, char removal on large timbers using media blasting or aggressive hand sanding, and determining when sistering (installing reinforcing lumber alongside existing beams) or reinforcement becomes necessary versus full replacement. Media blasting works particularly well on timber frames where hand sanding would require weeks of labor. Beams that pass structural inspection after surface cleaning often need only cosmetic restoration. Char removal typically reveals sound wood underneath unless fire duration was extensive.
Trim, Molding and Millwork Repair
Trim restoration involves matching historic or custom trim profiles when damaged sections need replacement, addressing corners and joints damaged by heat where miter joints open or profiles distort, matching paint versus stain on decorative elements depending on original finish, and determining when replacement pieces must be custom milled to match existing profiles that are no longer manufactured. Simple baseboard and casing profiles remain available at lumber yards. Crown molding and complex historic profiles often require custom milling. Specialty millwork shops can match profiles from samples. Save undamaged sections as patterns. Fill minor gaps at miters with wood filler or caulk, then finish to match.
Door and Window Component Restoration
Frame stability after fire exposure determines whether door and window units remain serviceable. Check for window sill rot from water damage that weakens structural support, door warping and fit issues where heat distorted frames or doors no longer close properly, hardware replacement versus restoration when finish or function is compromised, and weatherproofing requirements for restored exterior components. Replace weatherstripping around fire damaged doors and windows even if frames are salvageable, as heat degrades rubber and foam sealing materials. Adjust door hinges and strike plates to compensate for minor warping. Replace doors that warped more than one quarter inch, as they’ll never seal properly.
Wood Species Considerations in Fire Damage Restoration
Different wood species respond differently to fire damage and require adjusted restoration approaches based on their physical characteristics. Not all woods are equal candidates for restoration.
Hardwood restoration offers advantages including density that limits smoke penetration into wood structure, better structural integrity after heat exposure compared to softwoods, and superior char removal results because hardwoods sand cleaner without fuzzing. Oak, maple, and cherry respond particularly well to fire damage restoration. Oak’s open grain absorbs smoke, but the wood’s density prevents deep penetration and thorough sanding removes smoke damaged surface layers. Maple’s tight grain resists smoke absorption, making it one of the easiest hardwoods to restore after fire exposure. Cherry darkens naturally with age, which helps restored areas blend better than lighter woods where color matching proves difficult.
Softwood vulnerabilities include faster char penetration in pine and fir where less dense structure burns deeper, greater warping tendency from heat and water because softwoods move more with moisture changes, and deeper smoke odor absorption requiring more aggressive deodorizing treatments. Pine presents particular challenges because of pitch pockets that melt and spread under heat, creating dark stains that resist cleaning. When softwood salvage becomes impractical, you’re usually dealing with deep char penetration beyond one half inch or severe warping exceeding three eighths inch over three feet of length. Softwood framing lumber costs significantly less to replace than restore in most cases.
Engineered wood products including plywood, particleboard, and MDF typically can’t be restored after fire exposure due to glue degradation and delamination. The adhesives holding layers or particles together fail under heat, causing structural failure. These products also absorb water from firefighting rapidly, leading to permanent swelling and strength loss. Engineered products usually require complete replacement. Exceptions exist for minimal smoke exposure without heat damage or water saturation, where surface cleaning may suffice.
Antique and Historic Wood Preservation After Fire Damage
Antique furniture restoration is more time intensive and costly but prioritized due to sentimental and monetary value that makes replacement impossible. Assessment criteria for antiques differ from standard restoration decisions.
Assessment criteria include historical significance (documented provenance or notable manufacturer increases restoration value), monetary value (appraised worth often exceeds restoration costs for true antiques), sentimental importance (family heirlooms warrant restoration regardless of market value), and availability of replacement pieces (irreplaceable items justify higher restoration investment). Extent of damage relative to value creates the final decision. Minor fire damage to valuable antiques always merits restoration. Extensive structural damage might still warrant restoration if the piece is particularly significant, though costs can reach tens of thousands of dollars.
Specialized techniques for antique restoration preserve original patina where possible rather than removing all surface character during cleaning, use period appropriate materials and methods (shellac finishes on pieces originally finished with shellac rather than modern polyurethane), employ reversible restoration techniques that future conservators can undo without damaging the piece, and involve consulting with antique specialists before proceeding with major interventions. Document the piece thoroughly with photographs from all angles before restoration begins. Some antique collectors prefer conserving pieces in as found condition rather than complete restoration, especially when original finish remains partially intact. Professional conservators specializing in antiques understand these considerations better than general wood restoration contractors.
Documentation importance extends beyond the restoration process. Photograph the piece before restoration, during restoration showing damage extent and methods used, and after restoration showing results. Maintain provenance despite repairs by documenting what work was performed and by whom. Professional appraisals post restoration establish current value for insurance purposes and verify that restoration enhanced rather than diminished value. Some restoration methods reduce antique value if they’re inappropriate for the period or overly aggressive. Professional guidance prevents costly mistakes.
Insurance Claims and Documentation for Fire Damaged Wood Restoration
Insurance typically covers furniture and wood damaged by fire, smoke, and firefighting efforts under standard homeowner policies. Proper documentation protects your claim and ensures adequate settlement.
Document all damage immediately by photographing from multiple angles before moving or discarding anything. Take wide shots showing overall damage extent and close ups showing specific damage details. Keep digital file sizes at maximum 8MB for easy submission to insurance companies and contractors. Create detailed item inventories listing each damaged piece, estimated age, approximate value, and damage description. Don’t throw away damaged items until your adjuster has inspected and approved their disposal. Moving or discarding damaged wood before professional assessment can impact insurance claims by creating disputes about damage extent or causation.
File your claim as soon as structural safety permits reentry. Contact your insurance company within 24 to 48 hours of the fire. Provide detailed damage descriptions focusing on what happened, when it happened, and what’s damaged rather than cost estimates. Obtain professional assessment reports from contractors specializing in fire restoration, not general contractors unfamiliar with fire damage specifics. Submit restoration cost estimates from licensed contractors who’ve inspected the damage in person. Three estimates from different contractors strengthen your claim and provide negotiating leverage if your adjuster’s estimate seems low.
The adjuster inspection process requires being present during assessment to point out all damaged areas, provide access to damaged areas including attic, crawl space, and other spaces the adjuster might miss, discuss restoration versus replacement options with the adjuster before scope is finalized, and negotiate settlement amounts if initial offers don’t cover reasonable restoration costs. Document discussions with your adjuster in writing via email summarizing phone conversations.
Coverage typically includes restoration costs versus replacement value calculations, depreciation considerations that reduce settlement for older wood, additional living expenses during restoration if your home becomes uninhabitable, and limitations and exclusions in standard policies such as caps on certain item categories or exclusions for code upgrade requirements. Review your policy carefully before meeting with the adjuster. Understanding your coverage prevents accepting insufficient settlements.
When to Hire Professional Fire Damage Wood Restoration Services
DIY cleaning only works for very minor smoke or soot damage and risks worsening stains, spreading soot, or failing to remove odors permanently. Cost benefit analysis of professional versus DIY restoration should include hidden costs of doing it wrong the first time.
Hire professionals when structural damage requires engineer assessment that only licensed professionals can provide
Final Words
Fire-damaged wood needs more than surface cleaning. It requires proper assessment, methodical soot removal, odor elimination, structural repair, and careful refinishing.
Understanding how to restore fire damaged wood means knowing when DIY methods work and when professionals should step in. Minor smoke staining might respond to home techniques, but charred beams, persistent odors, or antique pieces need specialized equipment and expertise.
The wood in your home can often be saved. Done right, restored wood returns to safe, functional condition without obvious patches or lingering smoke smell.
FAQ
Can smoke damaged furniture be saved?
Smoke damaged furniture can be saved in most cases when the damage is limited to surface soot and odor penetration. Solid wood furniture has the highest chance of successful restoration through professional cleaning, sanding, sealing, and refinishing processes that eliminate smoke residue and odors.
How do you treat fire damaged wood?
Fire damaged wood is treated by first assessing structural integrity, then removing soot with HEPA vacuums and dry sponges, neutralizing acidic residue with appropriate cleaners, sanding away charred layers, sealing odors with shellac-based primers, and refinishing with matching stains and protective topcoats.
Does vinegar restore wood?
Vinegar does not restore wood but can help clean light soot and smoke residue when mixed with water as a mild acidic cleaning solution. For actual restoration after fire damage, you’ll need sanding, wood fillers, sealers, and refinishing products beyond vinegar’s cleaning capabilities.
What is salvageable from a house fire?
Salvageable items from a house fire include solid wood furniture and structural elements with surface damage, hardwood flooring without subfloor compromise, antique pieces with high value despite damage, and wood components that pass structural engineer stress tests showing they remain suitable for support.
When should I hire a professional for fire damaged wood restoration?
You should hire a professional when damage includes structural compromise requiring engineer assessment, extensive charring beyond the surface, persistent smoke odor after cleaning attempts, mold growth from firefighting water, or when insurance claims need proper documentation and coordination.
How long does fire damaged wood restoration take?
Fire damaged wood restoration takes a few days for minor smoke and soot removal on small areas, but severe damage involving structural repairs, deodorization, complete drying, and refinishing can take several weeks depending on the extent of damage and size of affected areas.
Can charred wood be repaired or does it need replacement?
Charred wood can be repaired when charring is limited to outer layers and structural integrity tests confirm the wood remains suitable for support. Deep charring that compromises structural strength or extends through the wood thickness requires complete replacement rather than repair attempts.
What causes smoke odor to persist in wood after cleaning?
Smoke odor persists in wood because smoke penetrates deep into porous wood fibers during fires, embedding odor molecules beyond surface layers. Simple surface cleaning cannot reach these embedded particles, requiring professional ozone treatment, thermal fogging, or complete sealing to eliminate odors permanently.
How do you prevent mold on fire damaged wood?
You prevent mold on fire damaged wood by drying it completely within 24 to 48 hours using industrial dehumidifiers and air movers, verifying moisture content with meters before sealing, controlling humidity between 30-50%, and maintaining proper ventilation throughout the restoration process.
What’s the difference between restoration and replacement for fire damaged wood?
Restoration repairs and refinishes existing fire damaged wood to functional and aesthetic condition, while replacement removes damaged wood entirely and installs new material. The choice depends on structural integrity test results, damage severity, cost comparison, and whether the wood has historic or sentimental value.